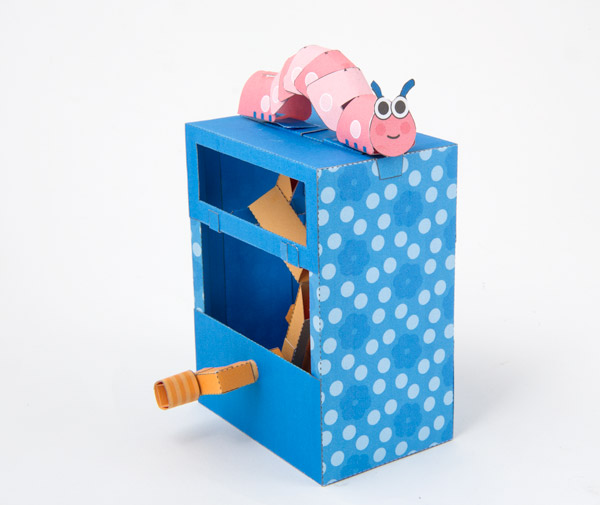
 An animated Paper Caterpillar to print out and make! Turn the handle on this delightful model and the caterpillar creeps ever forward.
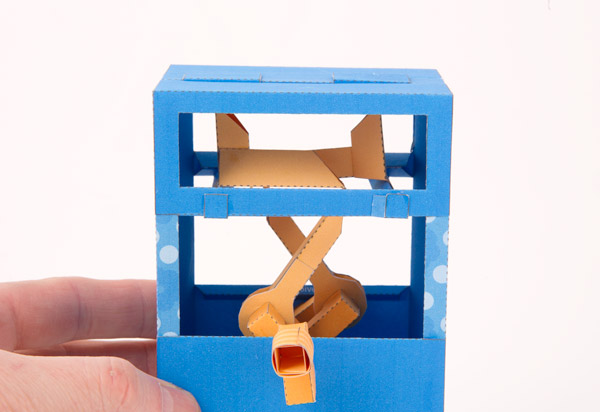
In the base of the box is a double crank and a pair of bell cranks which drive the creature in its lifelike movement.
Members can of course download the parts for free at the link, thanks for signing up! Non-members can join in the fun for £2.50
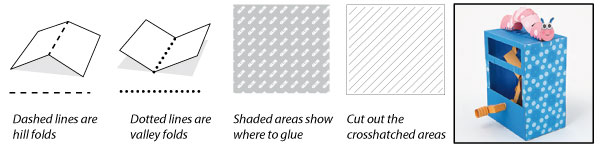
Print out the parts onto thin card, 230gsm / 67lb. Note that the colour version in the file is printed back and front. Print out the front, flip the card over and return it to the printer then print out the back. Score along the dotted and dashed lines and cut out the holes before carefully cutting out the parts.
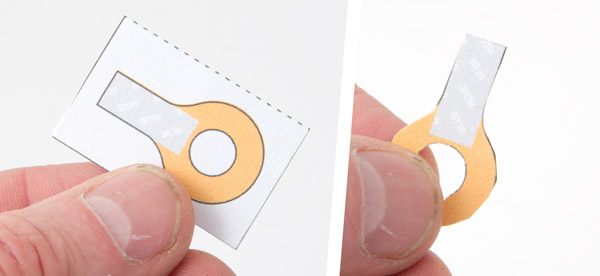
Fold over the push rod ends and glue them down making double thickness card. Once the glue is dry cut them out.
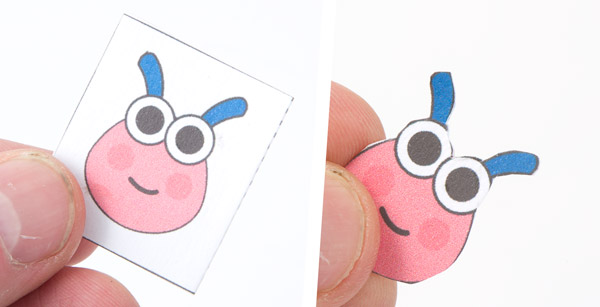
Fold over the caterpillar head to make double thickness card then cut it when the glue is dry.
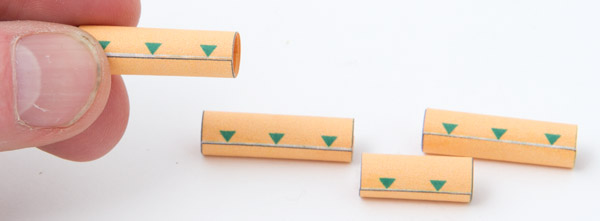
Roll up the four tubes lining up the edges with the points of the arrows as accurately as possible.
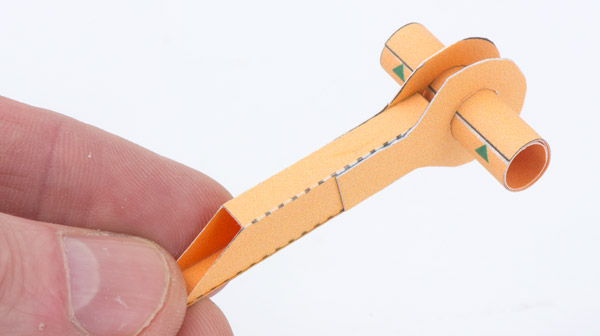
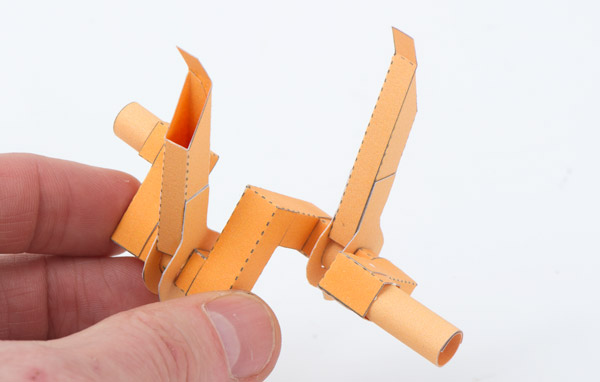
Assemble the two push rods as shown gluing the push rod ends into position with a long tube through the holes as shown.
Assemble the crank centre.
Assemble the two crank side pieces.

Fit the two push rod tubes into the crank centre gluing then into place. Make sure that the push rods are free to rotate. Note the positioning of the tabs at the ends of the push rods.
Fit the two crank pieces into place, then glue in the two remaining tubes.
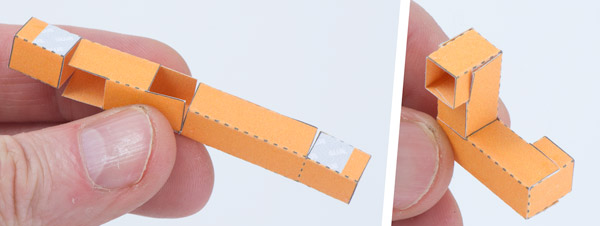
Fold up and glue together the pairs of tubes that make up the bell cranks.
Glue them together as shown.
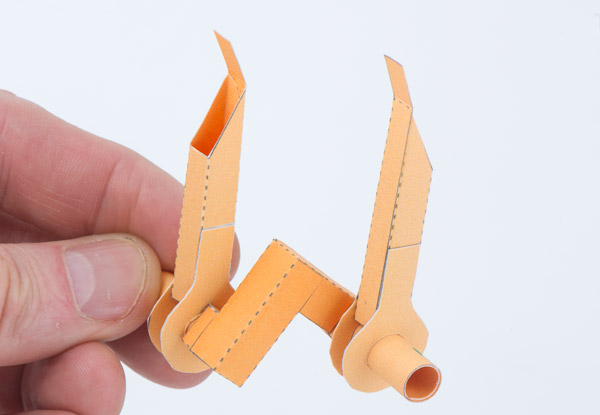
Assemble the cross beam. Glue the tabs of the bell crank to the cross beam. Line up the tab of the short section of the bell crank between the grey lines.
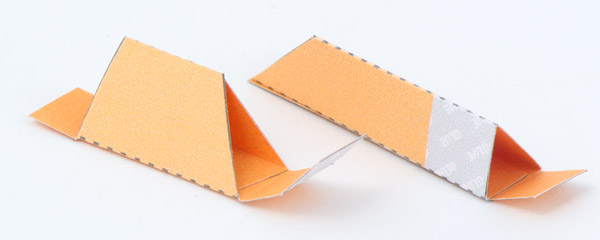
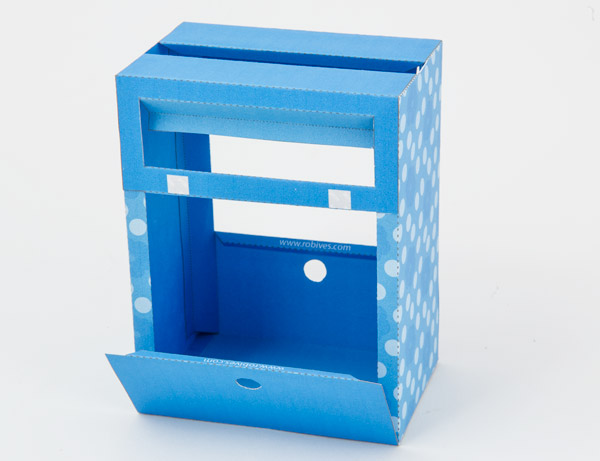
Assemble the box sides as shown. The sides are folded up to make right angled triangles.
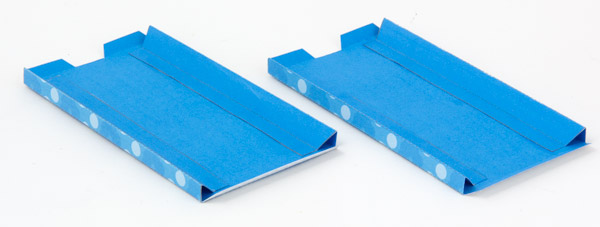
Assemble the two box top parts as shown.
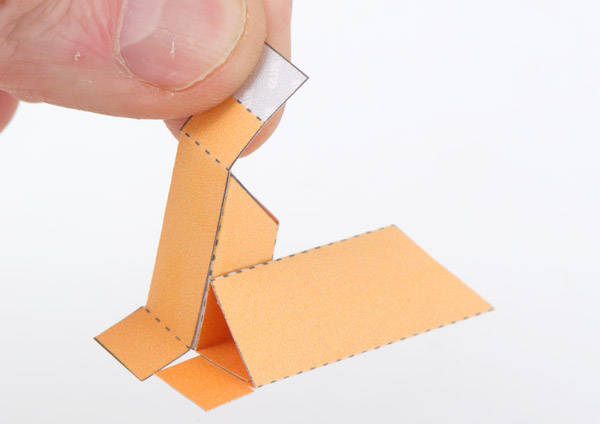
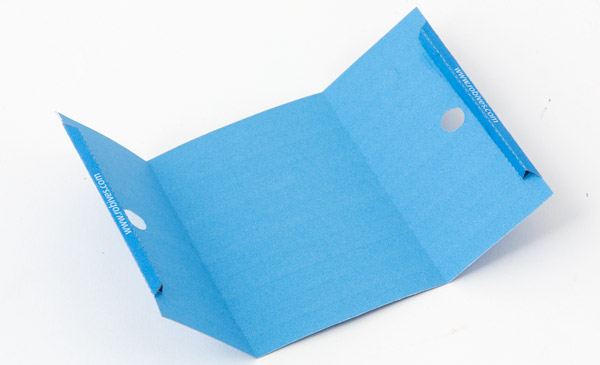
Assemble the base, making triangle tubes as shown.
Join the two tops to the tabs on the two sides.
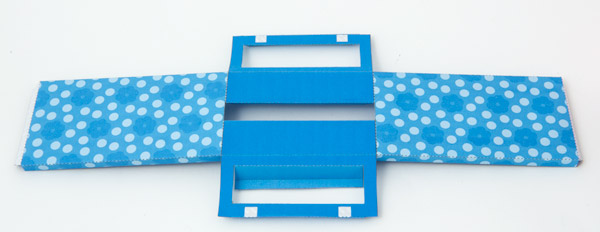
Fold the sides over and glue to the base.
Glue down the flaps from the top sides and one of the flaps from the base. Leave the remaining base flap open as shown.
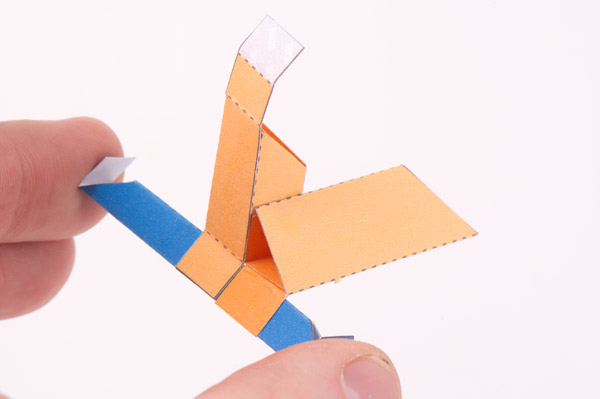
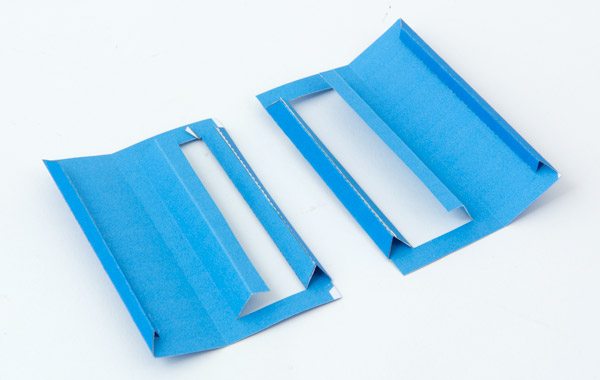
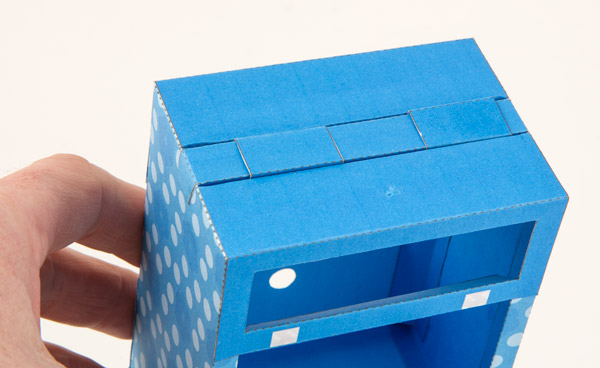
Assemble the slider inner and thread on the two sliders.
Fit the slider into place in the top. The slider tubes should be free to move freely back and forth.
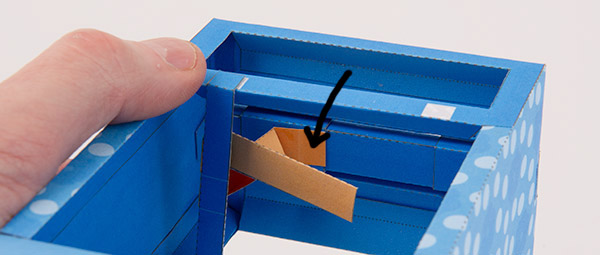
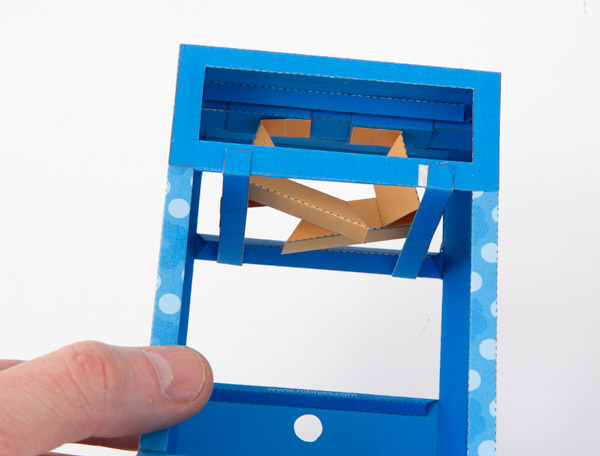
Glue the grey section of the tab on the short arm of the bell crank to the inside of one of the sliders as shown. Glue the cross beam into place between the grey areas on the box sides.
As the long arm on the bell crank is lifted up and down the slider tube should move back and forth.
Repeat the process with the other bell crank.
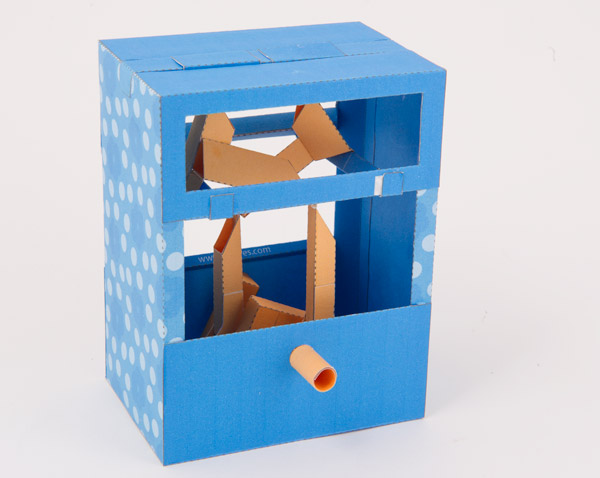
Fit the crank through the far hole in the box. Glue the push rod tabs to the bell cranks.

Fold up and glue down the remaining box side.
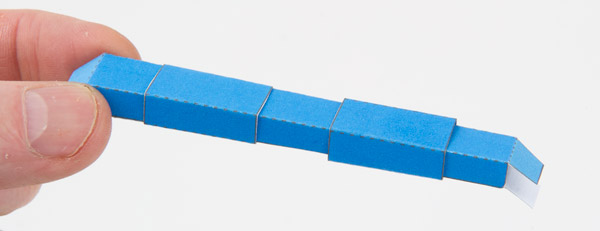
Assemble the handle in three steps.
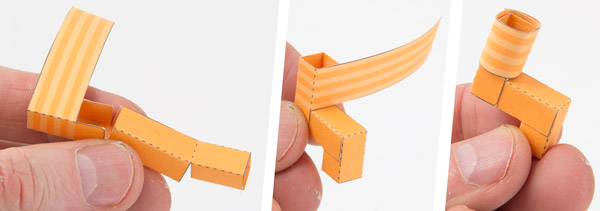
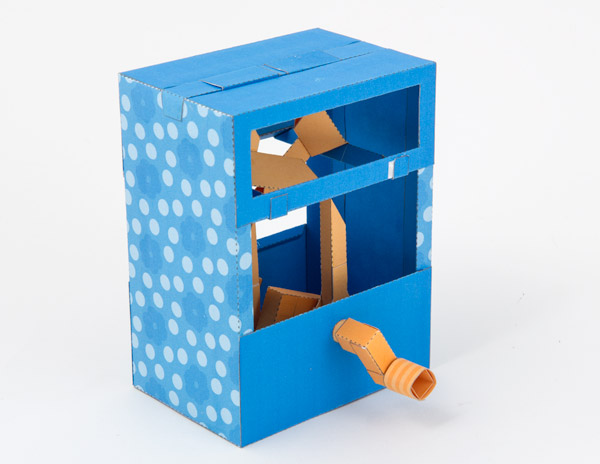
Fit the handle to the box. Once the glue is dry, test the movemnt by turning the handle.
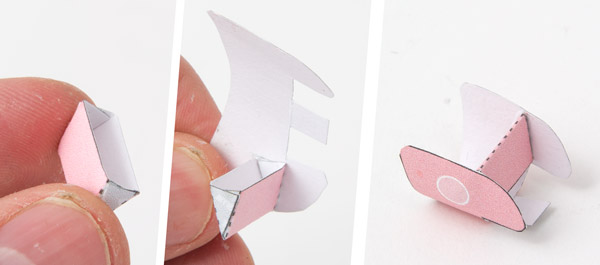
The parts of the caterpillar are numbered. Assemble part one.

Assemble the two parts of section two.
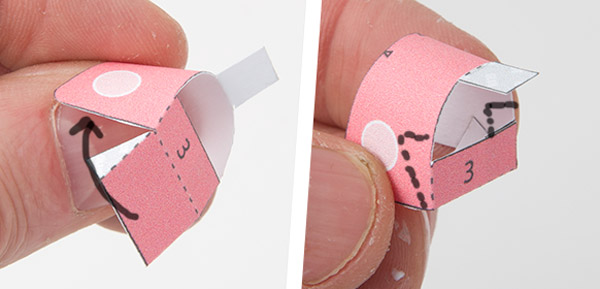
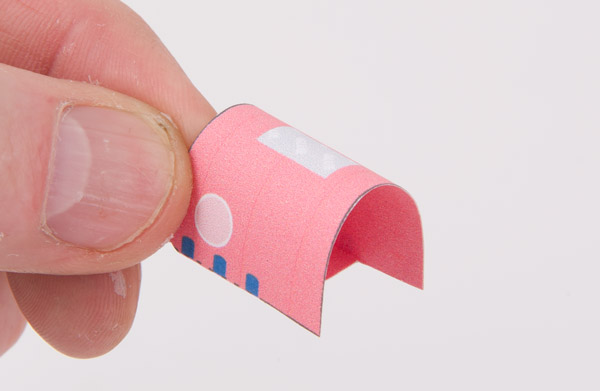
The next few sections are all made the same way. Fold and glue as shown.
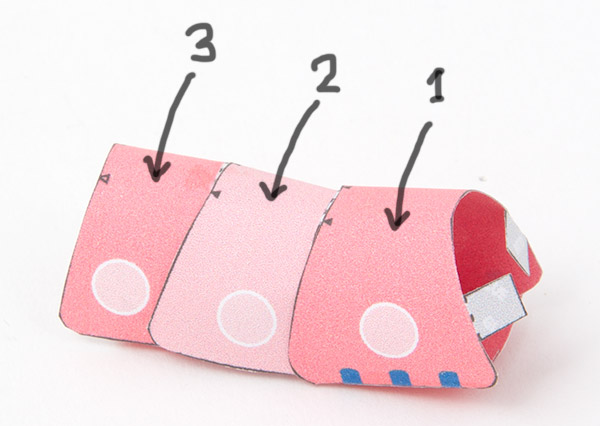
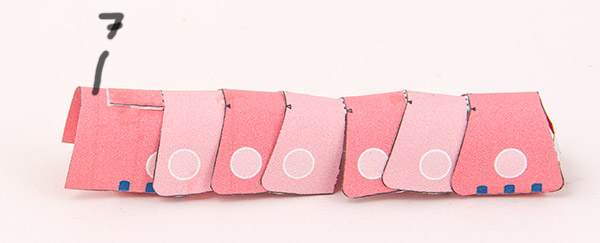
Glue the parts together in order.
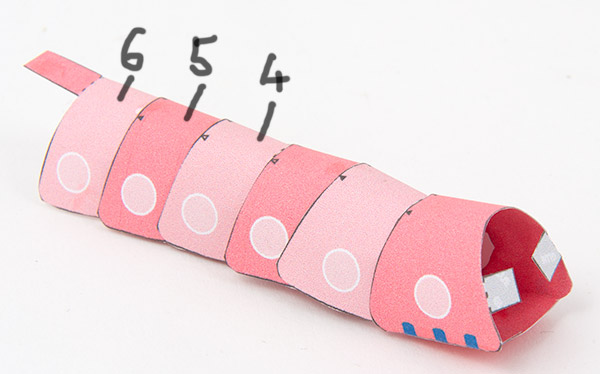
Assemble the final section.
…and glue it into place
Turn the handle so that the bell cranks are level and the sliders are centred as shown.
Glue the caterpillar front and back to the two slider tubes so that it is lying flat.
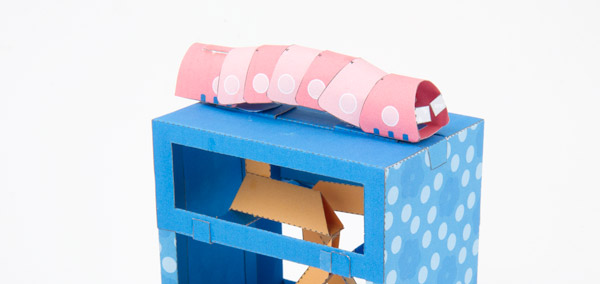
Glue the head to the front of the body.
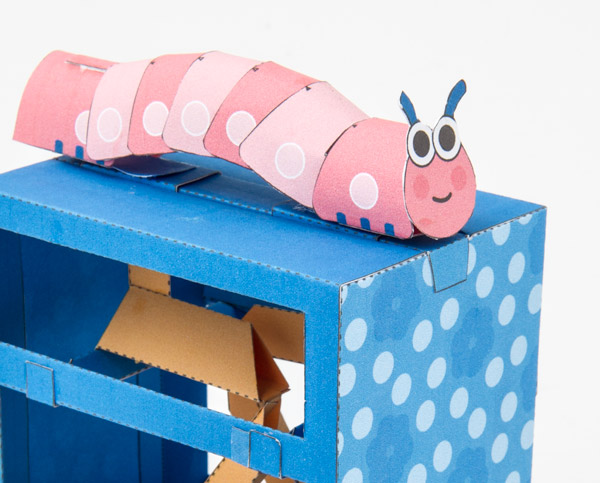
Ta daa! Turn the handle to bring the caterpillar to life.