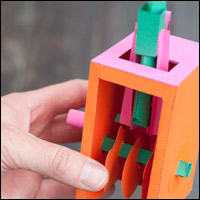
Belt drives can be used to transmit power from one place to another. The typical belt drive set-up has at least two wheels and a belt connecting them together. In a mechanism using stronger materials such as wood or metal it is possible to stretch an elastic belt between the two wheels and rely on friction to make them turn. In a paper model this is not possible. To link the belt to the wheel in this project the wheels are fitted with paper studs which match up with holes in the belt. As one wheel is turned, the belt is pulled round and this in turn drives the second belt.
Print out the parts onto thin card (230 gsm / 230 micron)
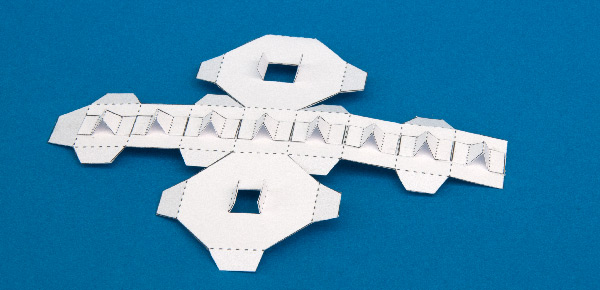
Score the dotted and dashed lines, cut out the holes and carefully cut out the parts.
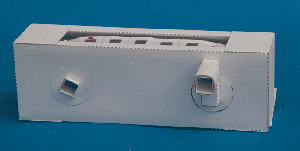
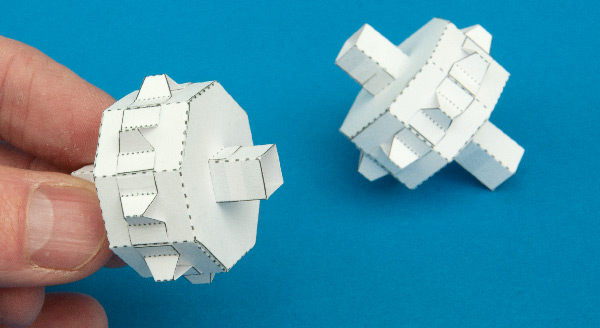
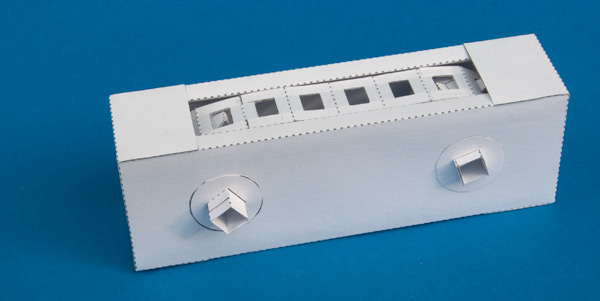
The completed project in action.
Glue the studs to the wheel using the grey areas for alignment.
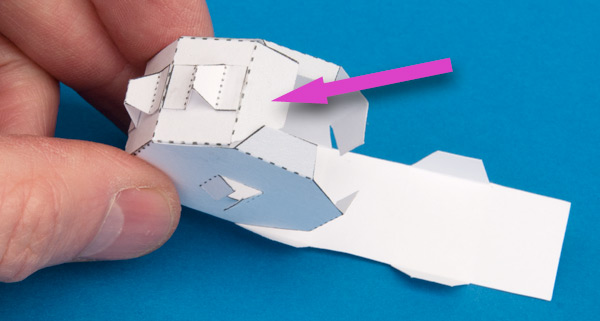
Fold round the wheel and assemble first one side with the tabbed end (Arrowed) then the other side to close the wheel.
Fit the axle into the wheel lining up the faces of the wheel with the two grey lines on the axle.
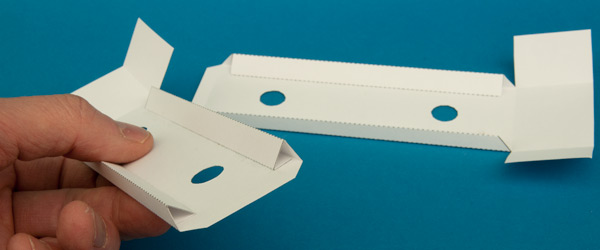
Fold round and glue the flaps on the box top and bottom to make triangular section tube sections. These will add strength to the box.
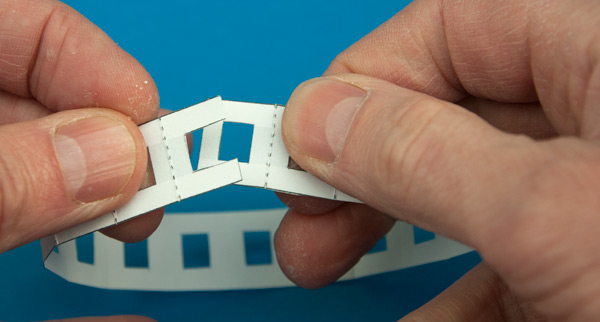
Join the two ends of the belt pieces together to make a closed loop.
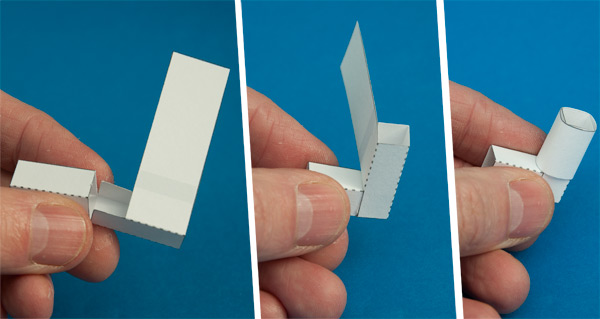
Assemble the handle in three steps. Fold up the two square sections. Fold one section into the other. Roll the long tab round and glue it down.
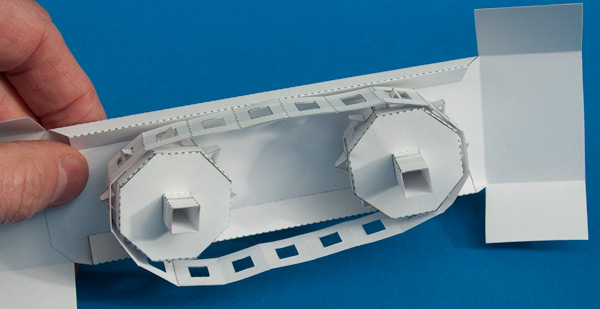
Wrap the belt round the two wheels.
Fit the wheels into the holes in the side of the box.
Wrap the box round and thread the other end of the axle into place.
Glue the box closed and glue down the four flaps top and bottom.
Glue on the four washers using the grey areas for alignment.
Glue the handle onto the shaft to complete the project.
Now includes to mkII belt drive with different size wheels!