View this post on Instagram
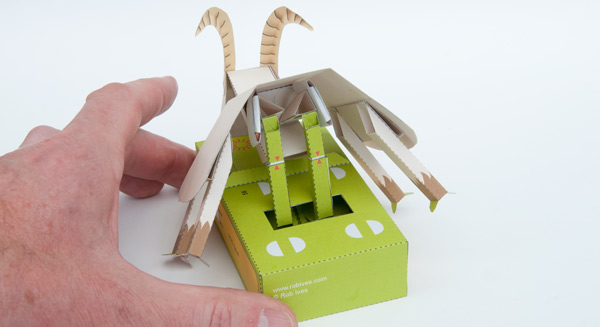
The central processing unit lies at the heart of every computer, a vast collection of microscopically small switches and logic-gates. Now, through the power of paper we bring you those same logic gates in goat form.
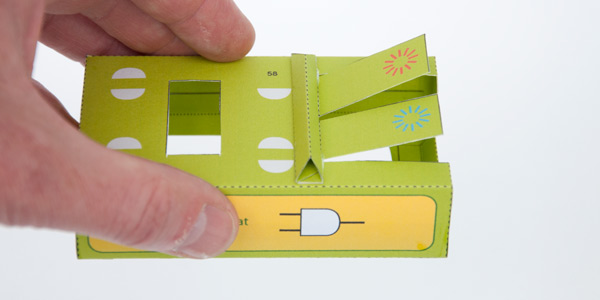
Presented here is the and-goat, the goat will nod his head only in you press the right button AND the left button.
Download the model, print it onto thin card then cut out and assemble following the clear, fully illustrated instructions. You’ll need some small coins to act as weights, PVA glue ( white school glue), scissors, ruler and a sharp knife.
Buy All Four Logic Goats for Only £8!
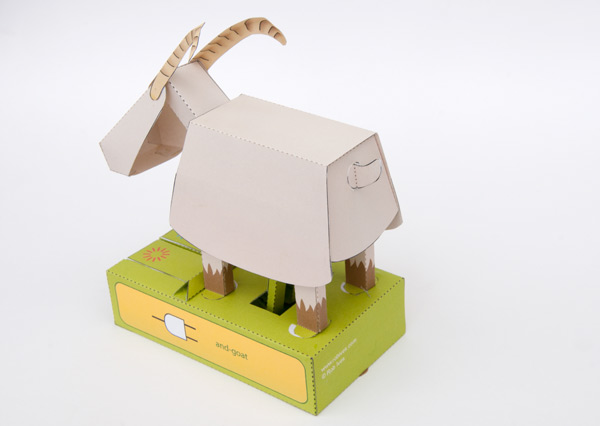
 And Goat works in the same way as the computer And Gate. Press either button on its own and the goat doesn’t nod.
Press one button AND the other button and the goat nods.
For a limited time everyone can download the And Goat project for free!
And Goat is part of the Logic Goats collection.
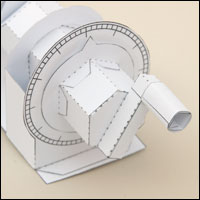
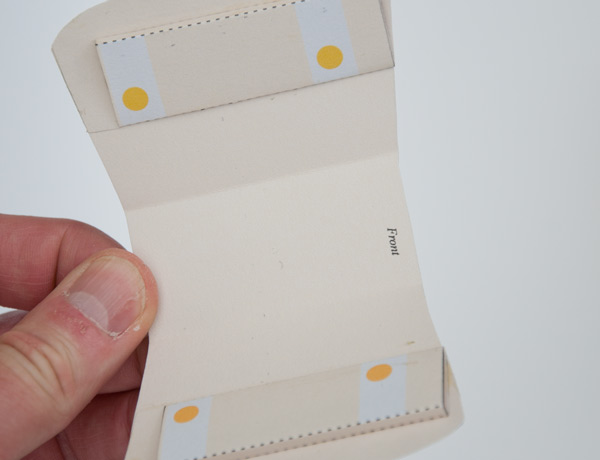
Download the file. Print out the parts onto thin card. (230 micron 67lb) Notice that the part sheets are marked front and back. Print out one side, flip the card over, return it to the printer and print the other side. Let the ink dry completely before starting to make the model.
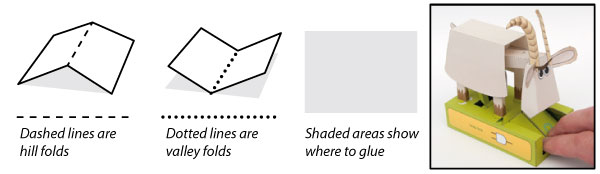
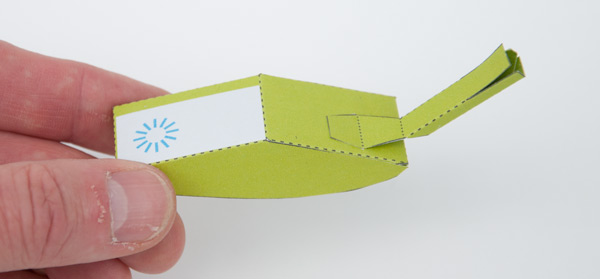
Score along the dotted and dashed lines before carefully cutting out the pieces.
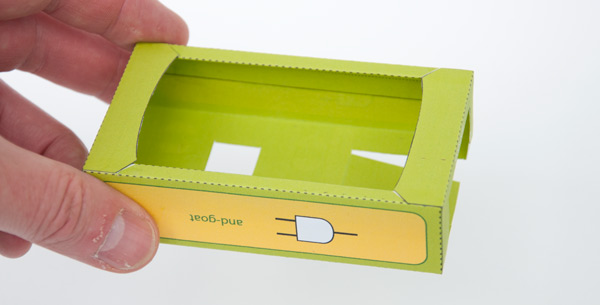
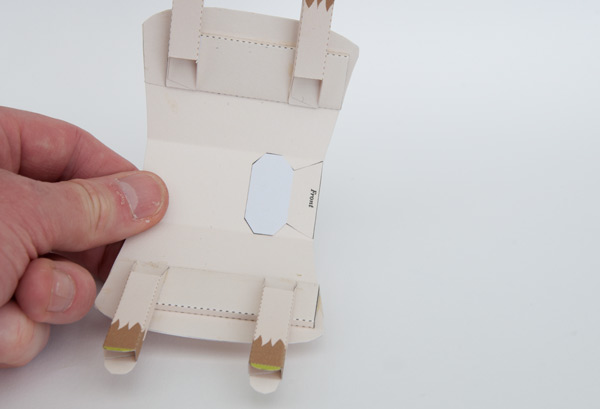
Fold up and make the box as shown above.
Find four coins to act as weights. UK one penny pieces are perfect. 20mm diameter / 4 grams.
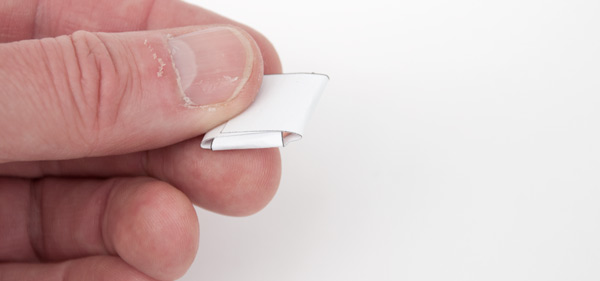
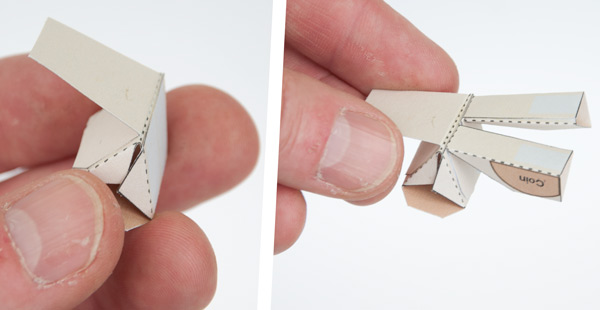
Wrap each coin in a coin holder.
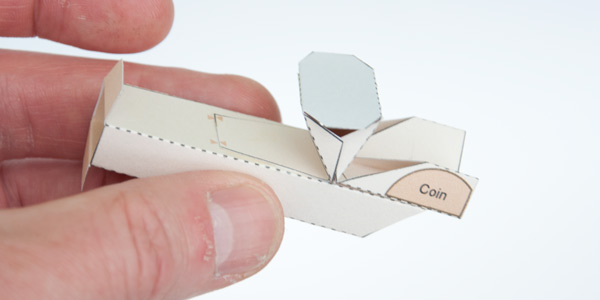
Assemble both the buttons as shown and glue one of the coins into the marked area.
Glue the pushrod onto the grey pad.
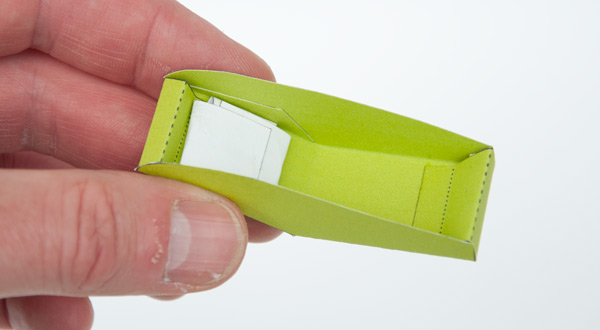
Assemble the box top stiffener and glue it to the grey area.
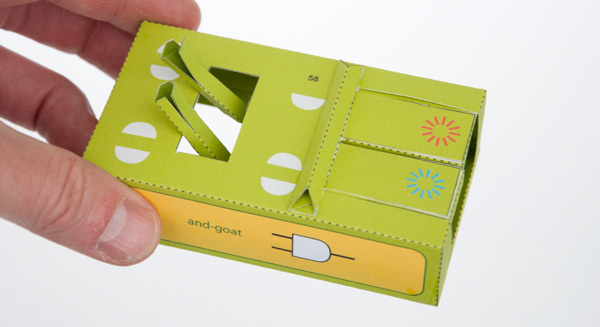
Glue each of the assembled buttons onto the colour matched tabs making sure that the push rod is threaded up through the hole in the box top.
Make up the pivot and glue on the hinge.
Assemble the two lift links and glue them to the grey areas on the pivot.
Fold round and glue together the neck. Glue the heck to the hinge as shown.
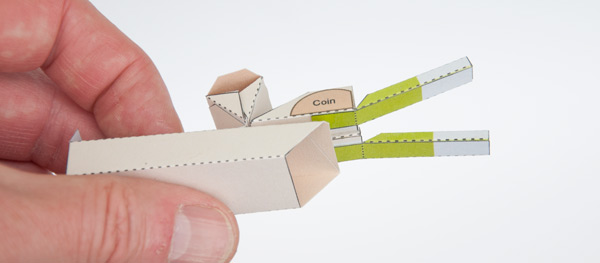
Glue the two push rod ends to the lift links as shown.
Glue a coin pack to each side of the lift links in the position shown.
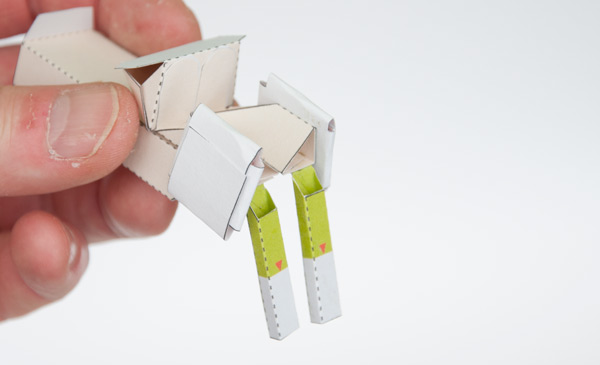
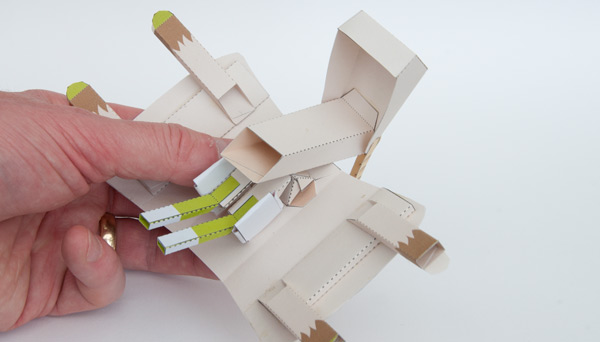
Fold round and glue together the side inners and glue them to the inside of the body.
Glue the legs to the grey areas.
Glue the alignment piece to the inside of the body.
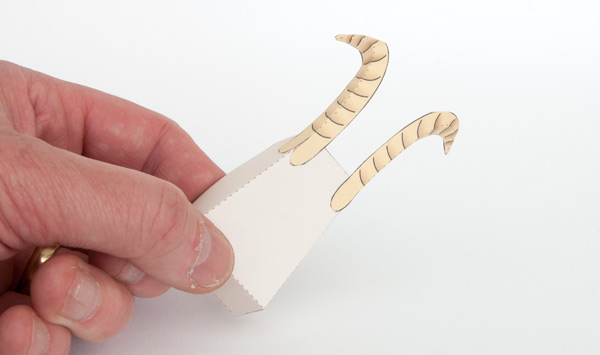
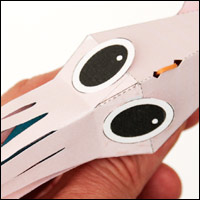
Assemble the head and glue on the horns.
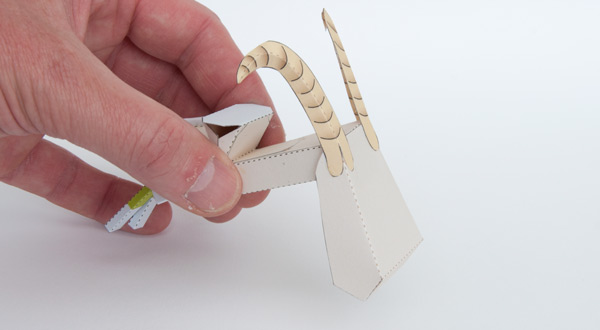
Glue the head to the neck.
Glue the head assembly to the alignment piece.
Join the two parts of the pushrods together.
Glue the feet to the box top.
Fit the body end into place and glue on the tail.
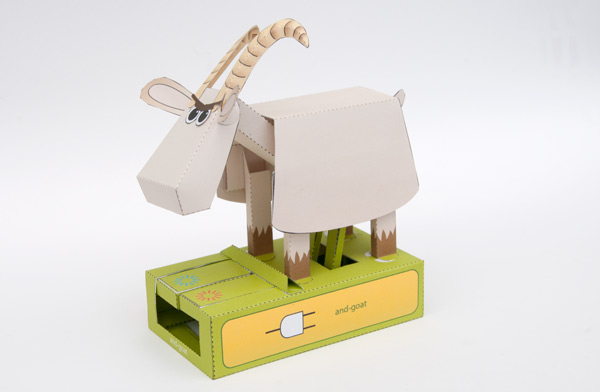
Done! Press one button AND the other and the goat nods.
Logical captain!