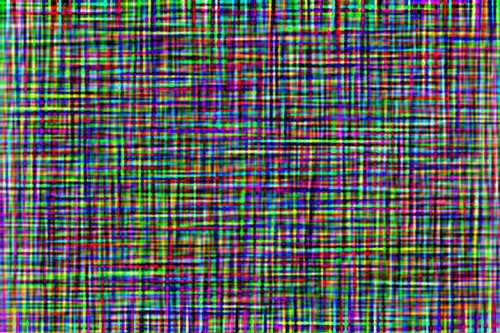
Making a weave texture using PhotoShop. This tutorial is created using PhotoShop CS4 but should apply equally to earlier versions. This texture was created to use as a rug in the Dog Ate My Homework model.
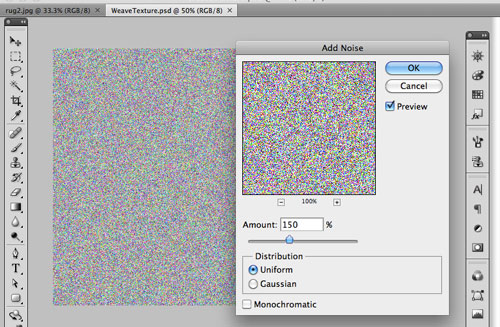
Create a blank page – 1200x600pixels: Start by filling the page with noise Filter->add Noise
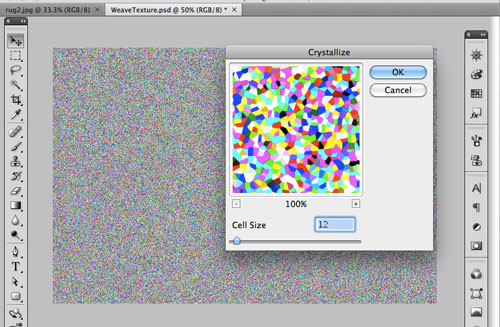
Increase the size of the particles on the page by using the Crystallize filter. Filter->Pixelate->Crystallize
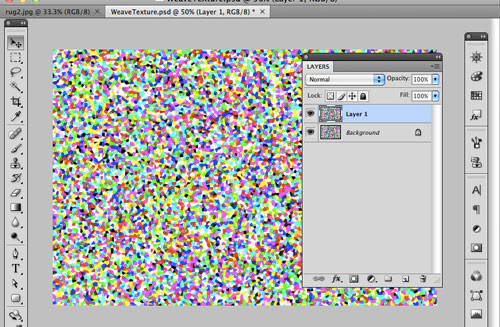
Copy the layer. Layer->New->Layer via Copy

In the layer palette, make sure that the top layer is selected. Apply a motion blur with the angle set to 0.
Filter->Blur->Motion Blur…
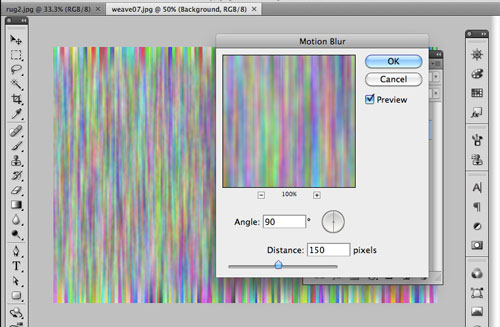
In the layers palette, hide the top layer then select the background layer.
Apply a motion blur to the background layer – this time with the angle set to 90 degrees.
Filter->Blur->Motion Blur…
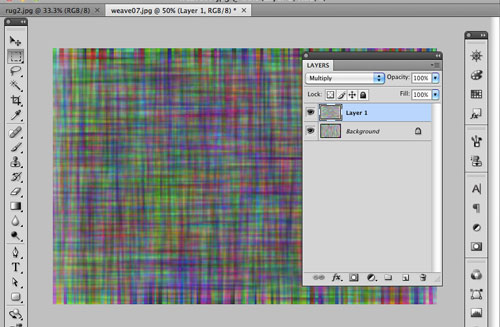
In the layers palette, turn the the top layer back on then select it.
Change the blend mode to Multiply in the dropdown at the top of the layers palette.
Flattern the image so that it is back to being only one layer. Layer->Flatten Image
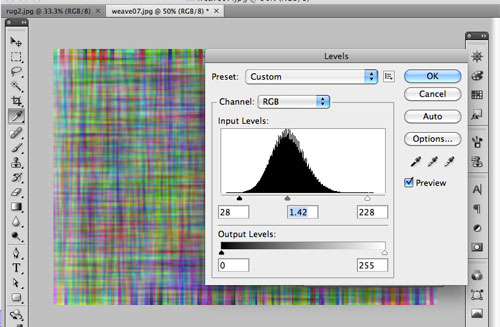
At this point it may be worth adjusting the levels on the picture to bring out the contrast.
Image->Adjust->Levels
Copy the layer to make two identical layers.
Layer->New->Layer via Copy
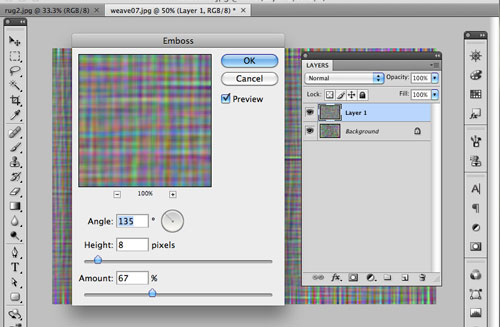
Select the top layer. To give the pattern a little more depth use the Emboss filter.
Fliter->Stylize->Emboss…

Select the top layer in the layers palette. Set the blend mode to Vivid Light.
Flatten the image. Layer->Flatten Image
You can use the levels filter again to tweak the final look of the image.
Image->Adjust->Levels
Save the finished result in your choice to file format.