
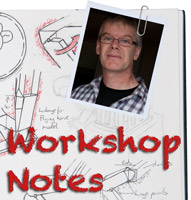
 A quick tutorial on how I created the page header for the top of the Workshop Notes section. This is created using Photoshop CS4 but should work fine in earlier versions of Photoshop.
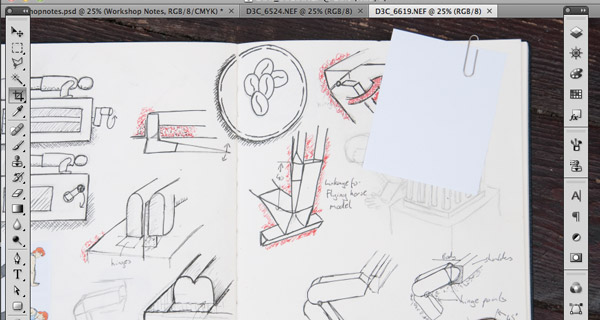
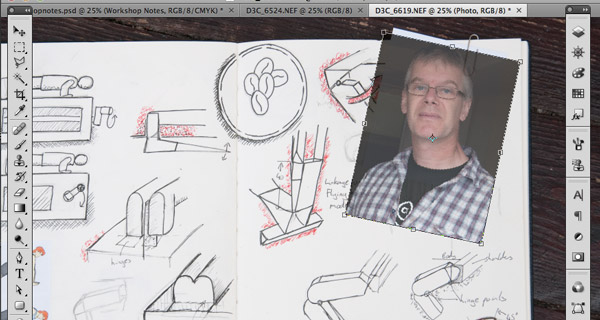
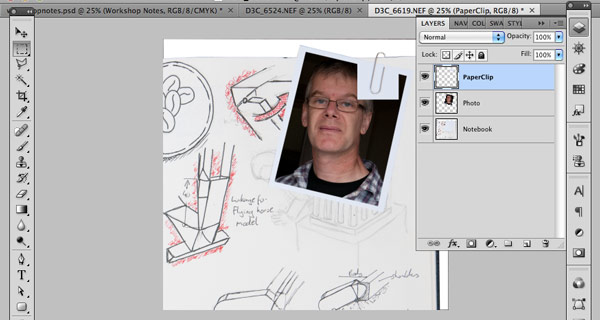
Starting with a photograph of a page from my notebook with a blank rectangle of card held to the corner with a paperclip…
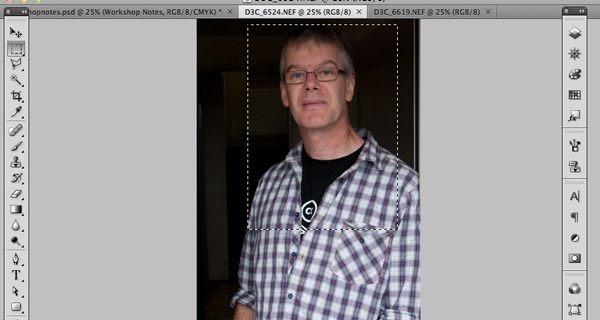
…and a self portrait. Select an area slightly larger than the picture area you are going to use using the rectangle marque tool. Copy the selection to the buffer. Edit->Copy
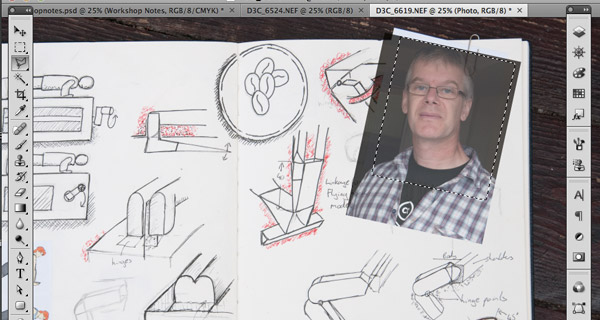
Paste the photograph onto a new layer in front of the notebook picture. Edit->Paste.
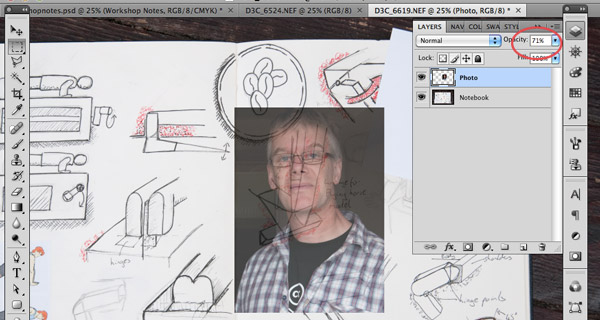
Rename the two layers to Notebook and Photo. It is always good practice to rename layers to avoid confusion at a later stage.
Reduce the opacity of photo so that you can line it up with the paper on the notebook. I've set it to 71%.
Select free transform. (Edit->Free Transform) rotate the picture and resize it so that it fits over the card on the notebook.
With the photo resized to the size that you want it, use the polygon lasso tool to select the outline of the picture that will fit the card. Invert the selection (Select->Inverse) so that the area outside the picture is selected. Delete the unwanted area of the photo by hitting the backspace key .
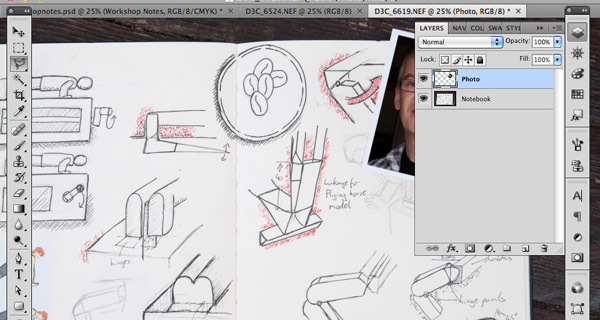
Reset the opacity of the Photo layer to 100%
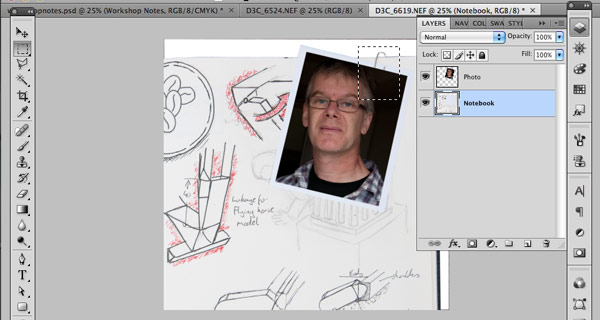
Select the Notebook layer in the layers palette. Using the rectangular marque tool select an area slightly larger than the paperclip. Copy the paperclip to a new layer using Layer->New->Layer via Copy
Rename the new layer PaperClip.
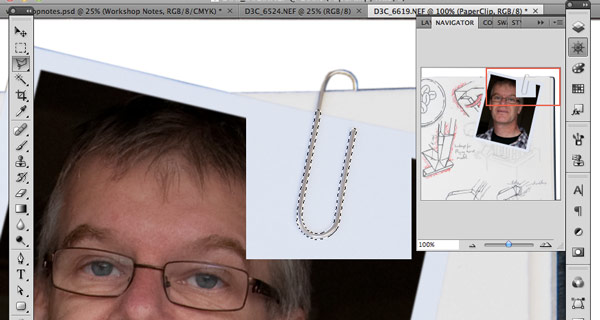
Zoom in, make sure that the PaperClip layer is selected. Use the Polygon Lasso tool with Feather set to 1 pixel. Select the outline of the paperclip where it covers the Photo. Invert the selection. Select->Inverse. Delete the unwanted white area by hitting the Backspace key.
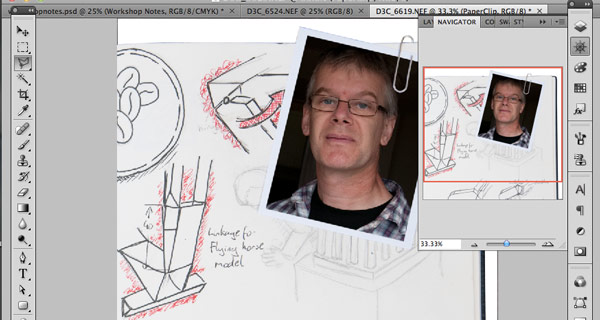
Select the Notebook layer. Use the Polygon Lasso tool to select the background and fill it with white. Use the crop tool to crop it to the required size.
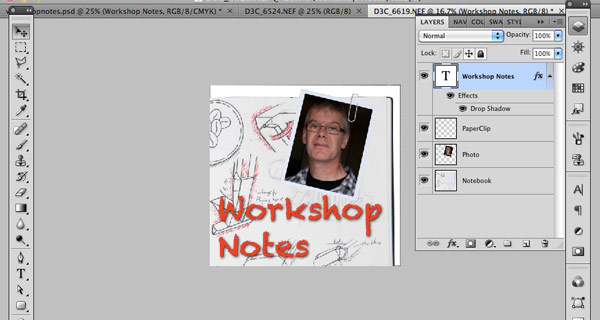
Finish of the header by adding the text. (This is the font Chalkduster) and adding a drop shadow.
I prepared the picture for the website by using File->Save for Web & Devices
