

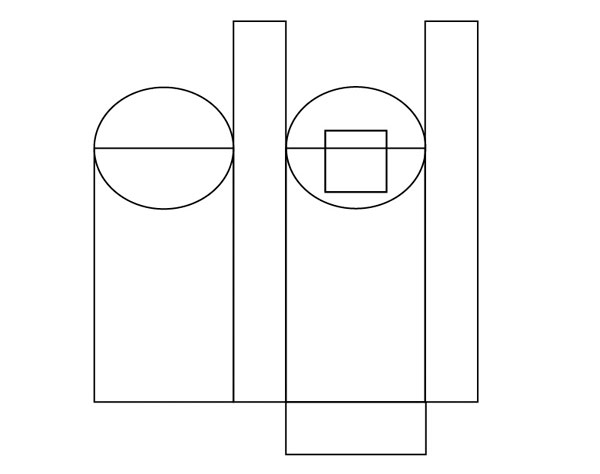
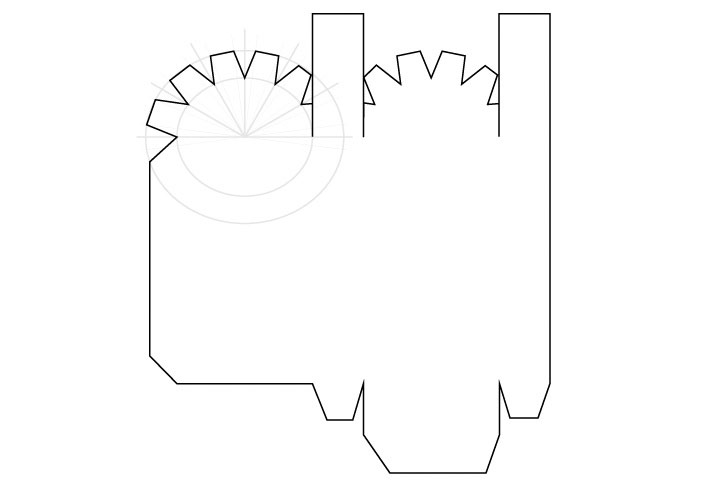
I do most of my design in Adobe Illustrator. When I'm designing a part I usually make up the parts with boxes, these are quick to draw and easy to edit. The piece here is the upper arm. It is a little rough and ready but is the layout I'm using for the final model. Now to convert it into a usable piece of artwork.
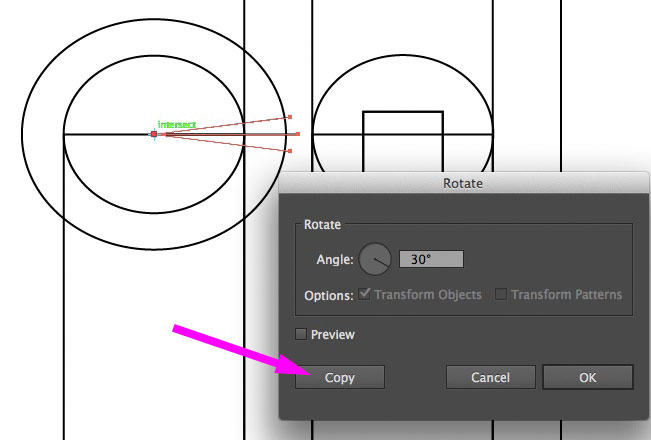
The first thing I added are the guidelines to construct the tabs on the top of the arm piece. I made a V shaped line on either side of a central line…
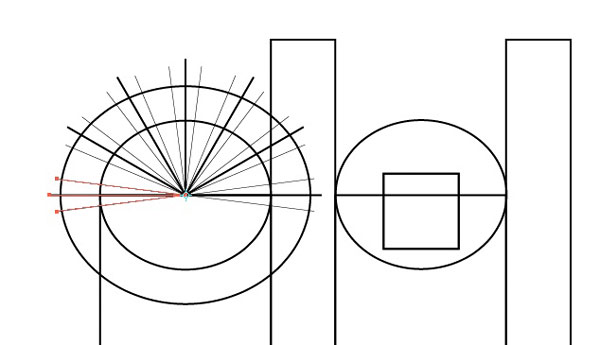
…then copied it six times rotating it 30° each time.
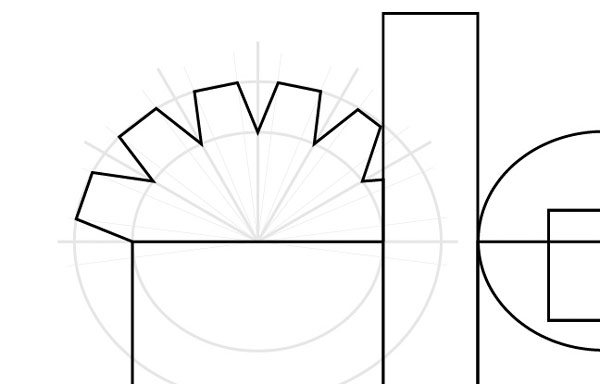
With the guidelines faded into the background I drew on the tabs. The guidelines ensured that they were neat and evenly spaced.
I then copied the tabs and modified them to fit above the right hand side of the arm. I then completed the outline of the part so that it is a single line incorporating both sets of tabs.
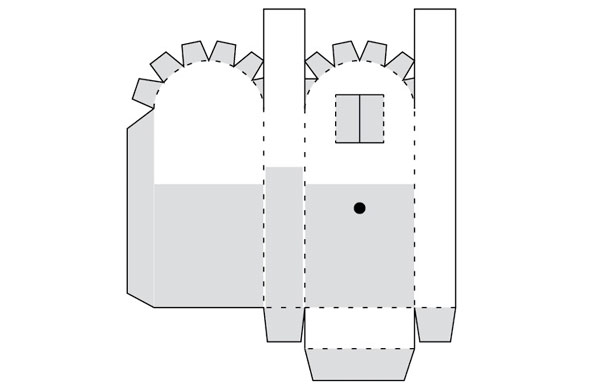
To finish off the part I added the dashed fold lines and grey areas where glue is to be applied.
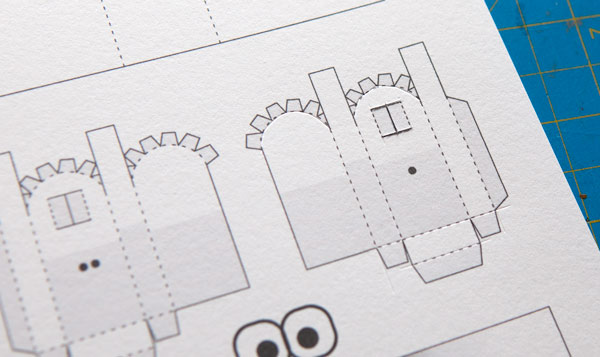
I then printed out the part, scored the crease lines and cut it out.
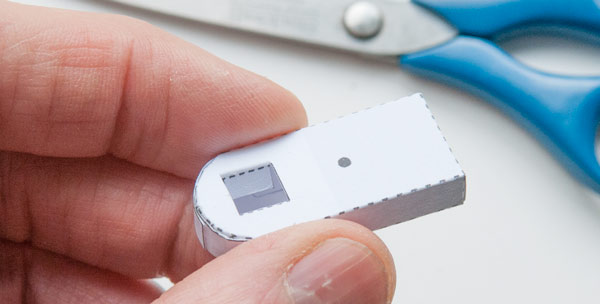
And here's the finished thing. Once I'm happy that the rest model goes together properly I'll add colour to the Illustrator file.
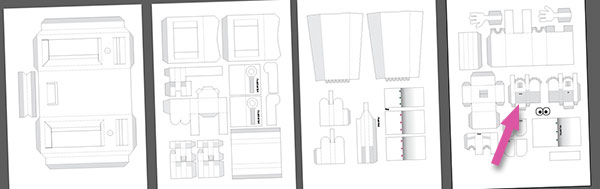
The rest of the parts with our new part in place.
