

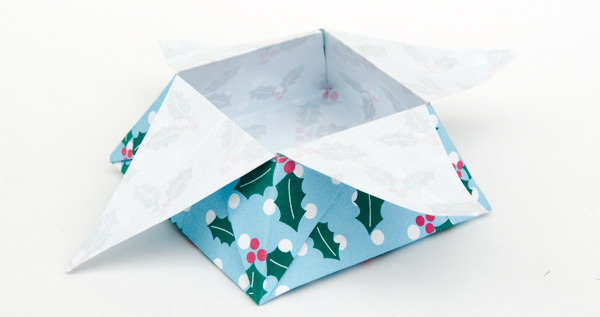
I’ve not had any origami on the website before but I had various pieces of Holly Pattern paper left over from experimenting with scaled up printing so I thought I’d give it a go.
This box is something of a classic from the origami canon. I hope you like it!
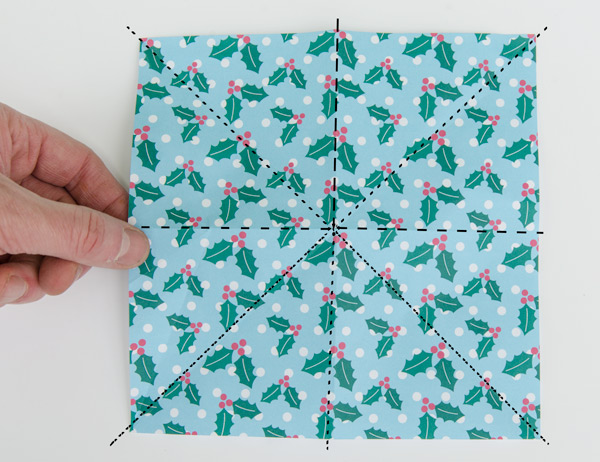
Print out a pattern on one side of a sheet of paper. I used the Holly Pattern printed at 250% size.
Carefully cut out a square then fold the paper in half along each of the four lines of symmetry. Vertical and horizontal lines are hill folds, diagonal lines are valley folds.
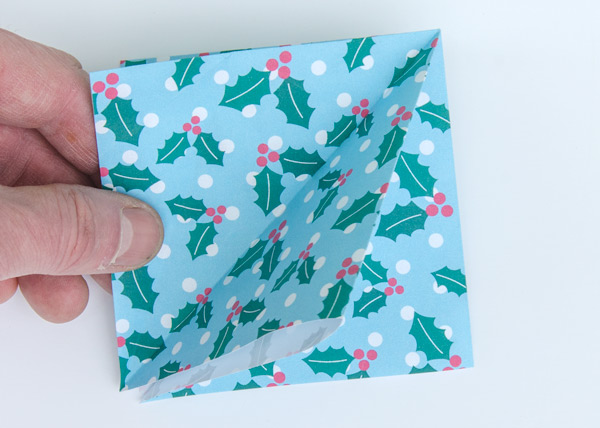
Fold the paper in to make a small square.
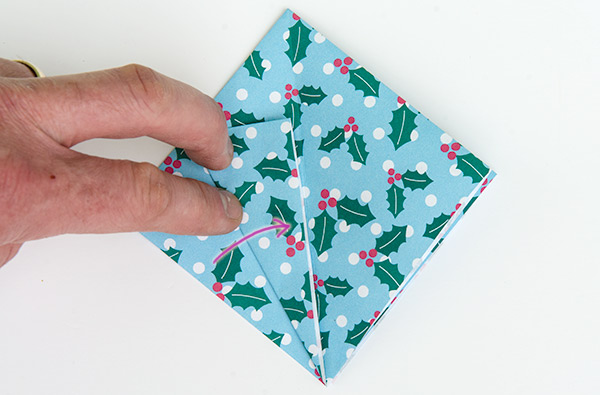
Fold the edge into the centre line so that the crease runs to the open end of the square.
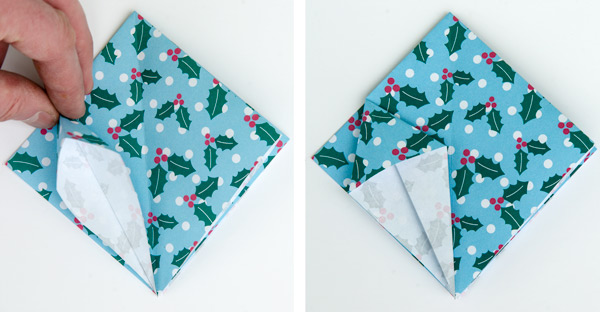
Open and fold flat making sharp creases as you do so.
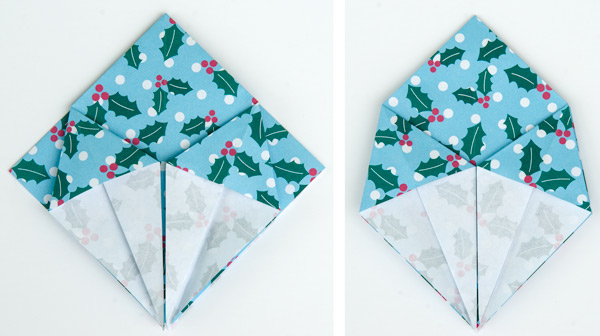
Repeat on the other side then flip the piece over and repeat on the back.

Fold the flaps over and across to reveal two plain surfaces.
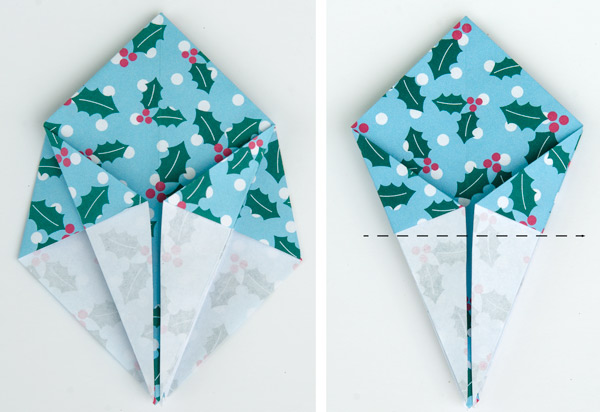
Fold the edges in again. Flip and repeat on the other side. Fold the point upwards creasing along the dotted line.
Repeat the process on the other side.
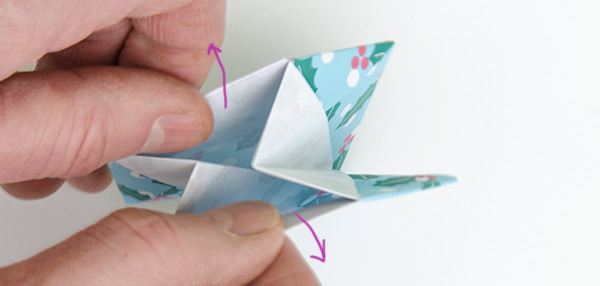
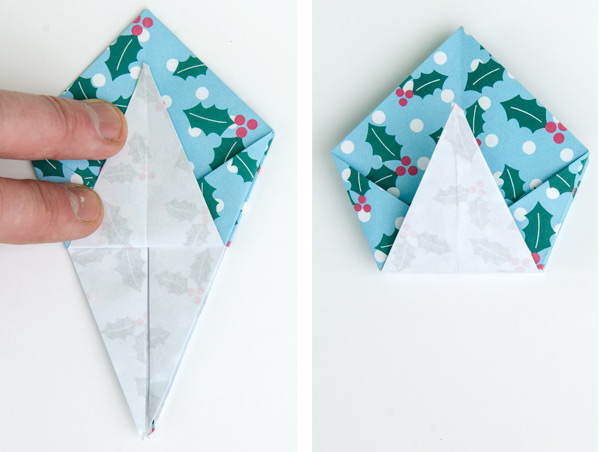
Carefully pull apart the open end of the pieces.
Push the end inwards to make a base.
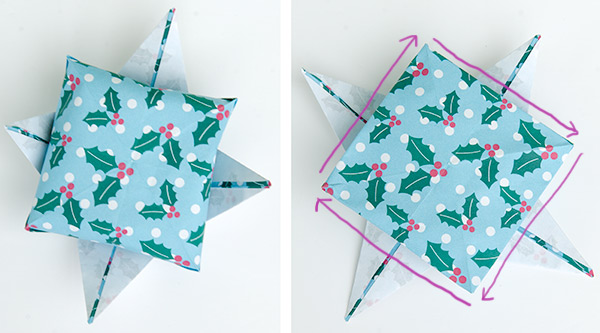
Crease carefully and accurately along each of the four side.
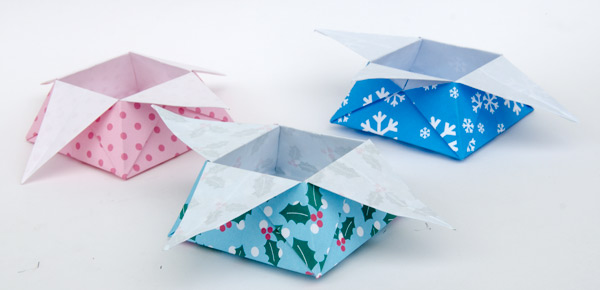
There you have it! A simple origami box.
