

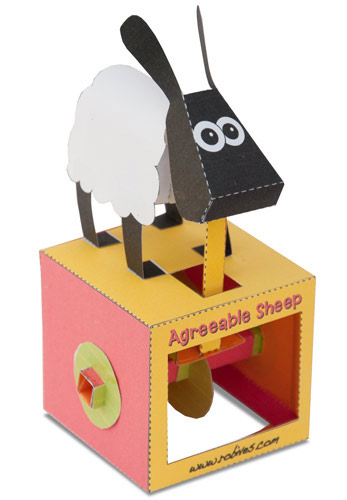
The Agreeable Sheep has moved from the Flying Pig web site to her new home here at robives.com. As a member you can download the parts file for free at the bottom of this post – I hope you enjoy it.
You will need a pair of scissors, some glue and a glue spreader. The best type of glue to use is white school glue (PVA.) A pair of tweezers will also be useful.
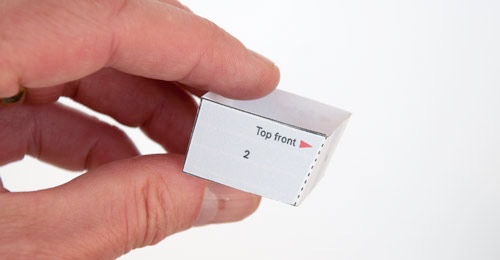
Print out the parts sheets onto thin card. Note that the parts sheets are marked front and back. Print out the front, flip the card over, pop the card back in the printer and print the back. Leave the ink to dry completely before continuing.
Before cutting anything out, score along all the dotted lines. This job is easier to do on full sheets of paper.
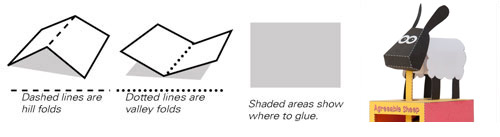
Dashed lines are hill folds, dotted lines are valley folds. Cut along the solid lines. Grey areas show where to glue.
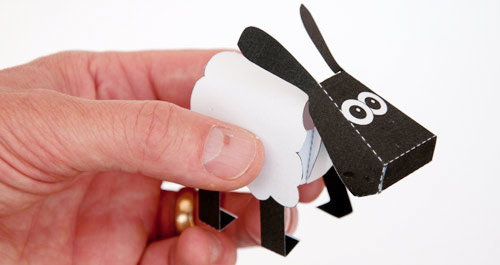
Fold the body inner round and glue it together. (1)
Glue the body inner into the body. Use the two very small dots on the outside of the body to line up the diagonal corners of the body inner. (2) You might need to hold the body up to the light to see through it.
Roll the body round and glue it to the other side of the body inner. (3)
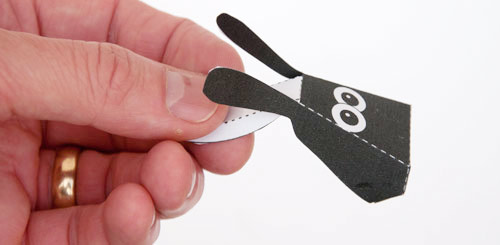
Assemble the head. (4)
Glue the neck to the head. (5)
Glue the neck to the body inner. (6)
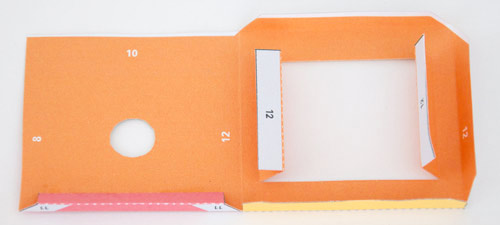
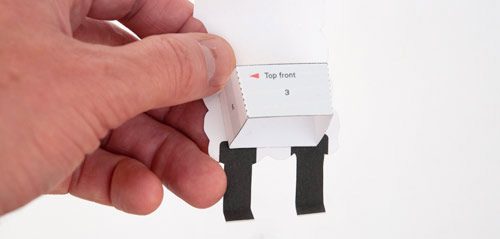
Fold the two flaps at the bottom of the Box round and glue them into place. (7)
Glue the two halves of the Box together. (8)
Glue on the Box Top. (9-10)
Fold the bottom flaps over and glue them into place. (11)
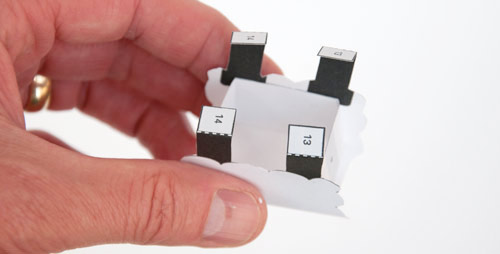
Fold the side supports round and glue them down. (12)
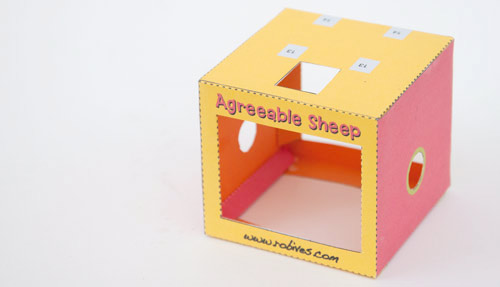
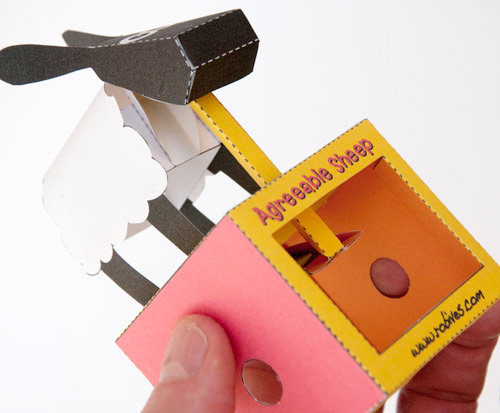
Glue the sheep to the Box top. (13-14)
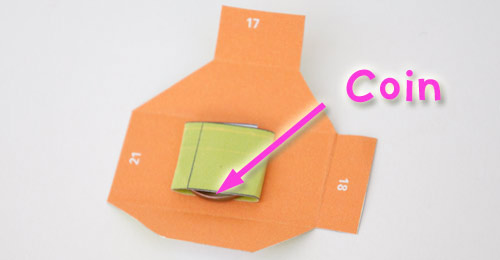
Find a coin of approximately 20mm diameter. A penny in the UK or a cent in Europe and the USA will be ideal.
Wrap the Coin Holder round the coin and glue it down. (15)
Glue the coin into the centre of the Cam Follower. (16)
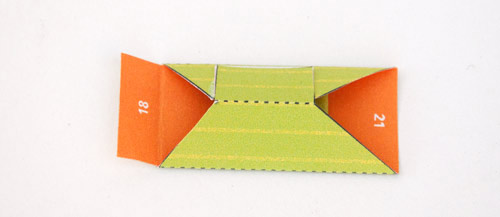
Fold round and glue the Cam Follower. (17)
Glue the Cam Follower into place in the box (18)
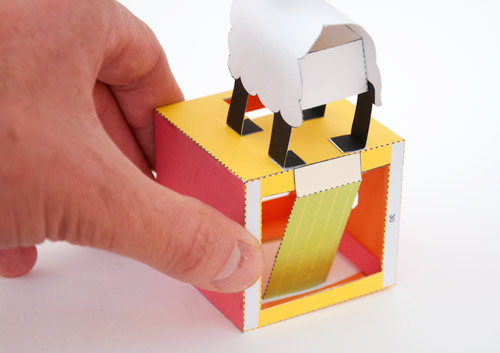
Fold round and glue the Push-rod. (19)
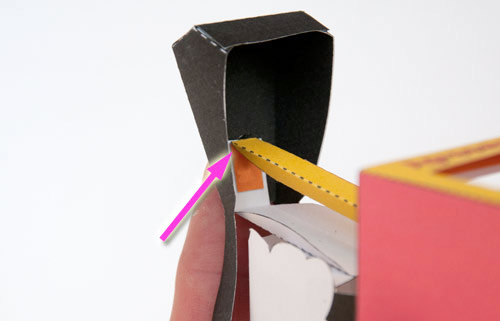
Thread the Push-rod up through the hole in the top of the box and glue it first to the inside of the Head (20)…
…then to the Cam Follower. (21)
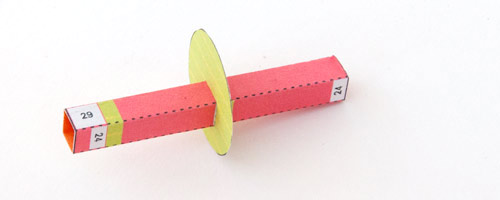
Fold round and glue the Cam Shaft. (22)
Glue on the Cam (23)
Thread the Cam Shaft into the box making sure that the green end goes to the hole with the green ring.
Glue the two washers onto the cam shaft. (24)
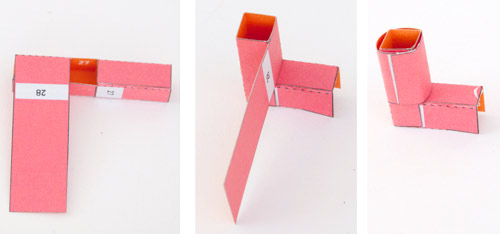
Assemble the handle in three steps.
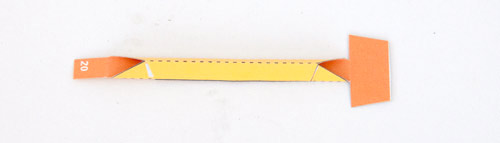
Glue the two square sections as shown. (25-26)
Fold the two square sections into each other and glue. (27)
Fold the long flap round and glue into place. (28)
Glue the handle into place. (29)
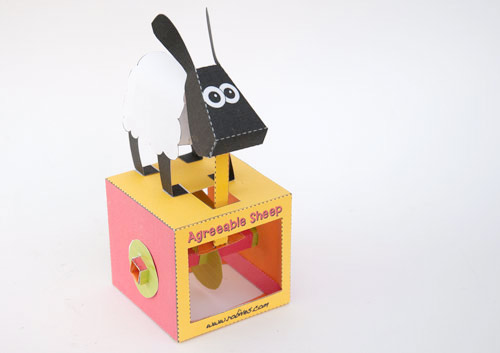
Finish off the model by gluing the Box Back into place on the back of the model. (30)
Not one to stand out of the crowd, our woolly friend agrees with everything you say…
"Is this a good colour scheme?" "Yes!"
"Would you like to go for a walk?" "Yes!"
"Are you having a good time?" "Yes!"
"Does my bum look big in this?" …probably best not to ask.
With this agreeable model you need never get a second opinion again.
Baa baa baa!
