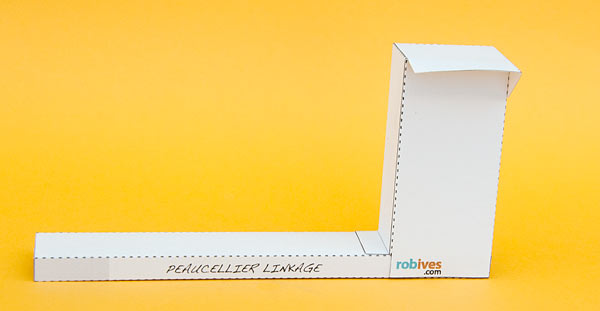
A working Peaucellier linkage to download and make. The simple geometry of the linkages is used to convert rotary motion into straight line motion. Members can download the parts for free. Non-members can download for a small fee.
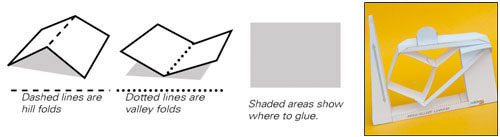
Print the two parts sheets onto thin card. (230micron / 230 gsm) Solid lines show where to cut. Dotted/dashed lines are score lines. Grey areas show where the glue goes. Use white school glue (PVA) to glue the parts together.
Fold the support round and glue it together.
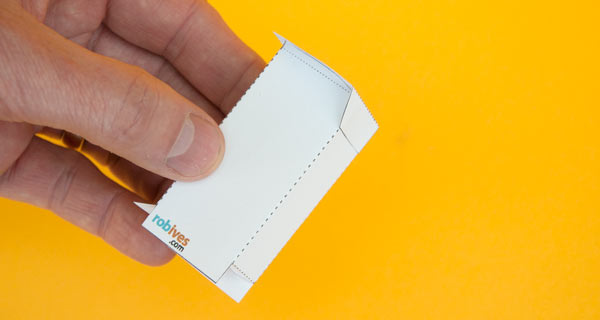
Fold over the top and glue it down as shown. Notice the dotted, valley fold line on the front.
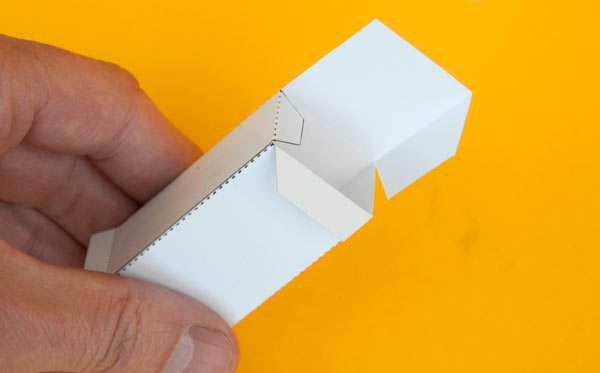
Fold up the base to make two triangular tube sections as shown.
Glue the stand to the base using the grey area for alignment.
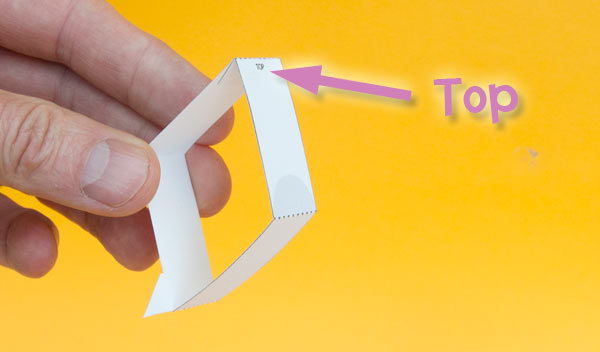
Glue together the parallelogram as shown. Notice the ‘Top’ label.
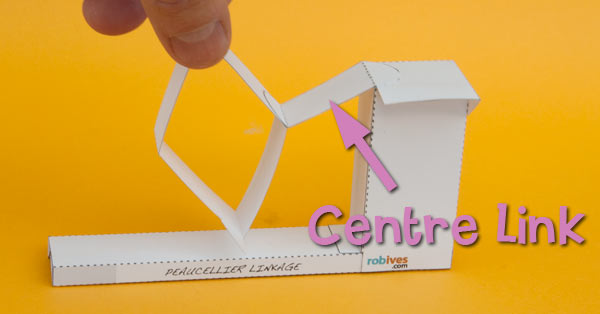
Glue the parallelogram to the stand using the centre link. The ‘Top’ is at the top of the picture (as you’d expect)
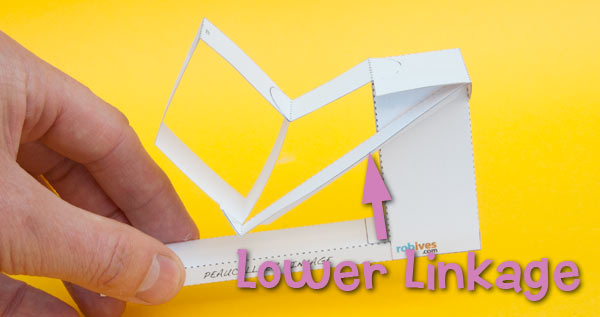
Glue the lower linkage between the triangle on the parallelogram and the triangular area on the top back of the stand. Notice that it should be roughly one millimeter from the stand.
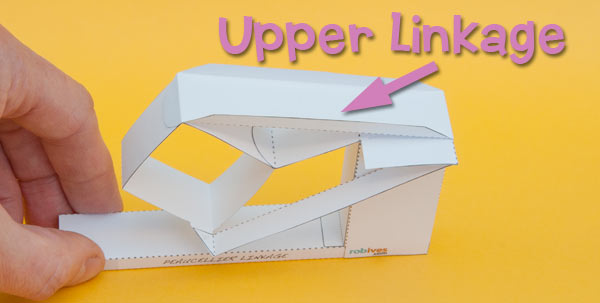
Glue the upper linkage into place. Make sure that you don’t get glue on the creases.
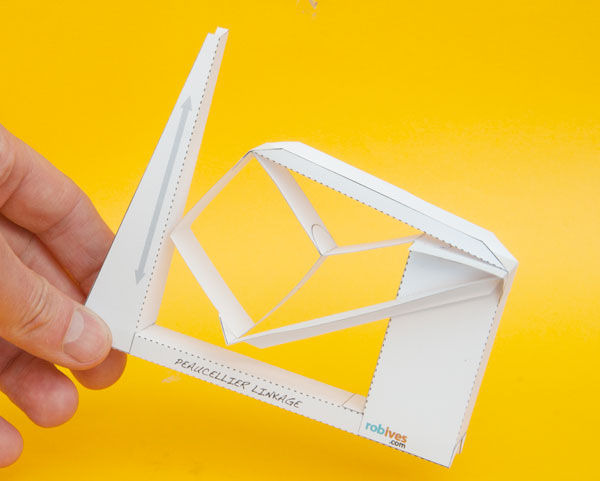
Glue the post into place. You might need to rock it back and forth a little so that it lines up with the path of the end of the linkage.
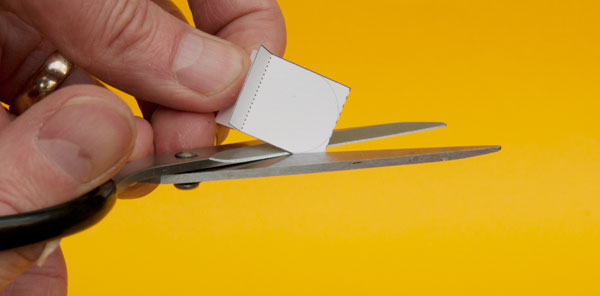
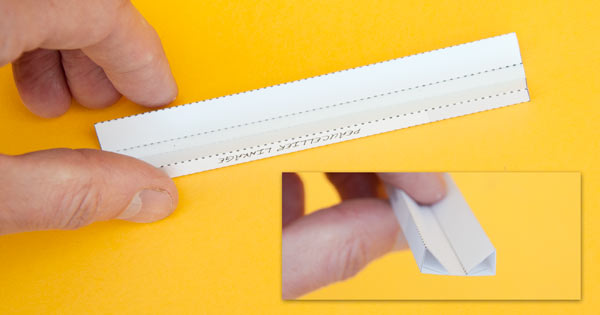
Fold the handle in half and glue it together then cut out along the grey lines to make a curve.
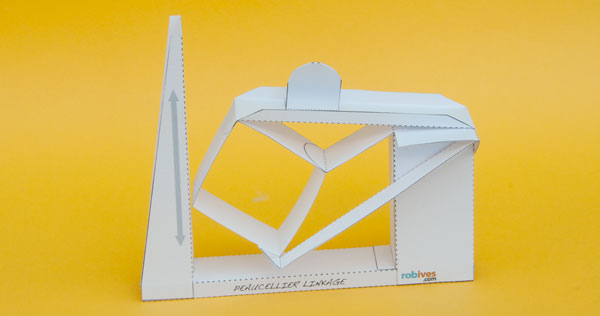
Finish off the mechanism gluing the handle into place. Let the glue dry.
Move the handle up and down and the left side of the parallelogram will move in a straight line parallel to the post. Clever stuff Monsieur Peaucellier!