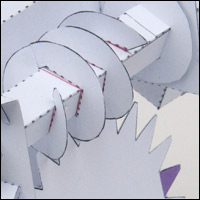
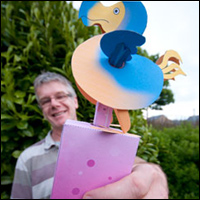
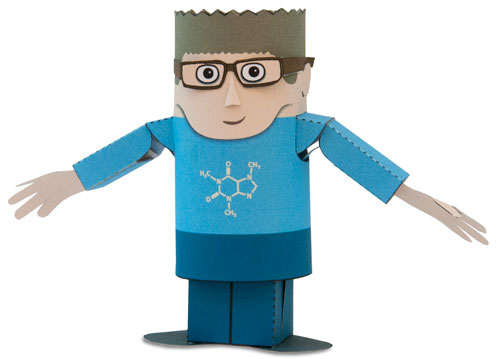
I’ve completed a new model. Its going to be part of the new robives.com logo for the upcoming website. Its available for you to download and make at the bottom of this post. You are a member, right?
Check out the YouTube video here:
You will need a pair of scissors, some glue and a glue spreader. The best type of glue to use is white school glue (PVA.) A pair of tweezers will also be useful.
Print out the parts sheets onto thin card. Note that the first sheet parts is front and back. Print out the front, flip the card over and print the back. Leave the ink to dry completely before continuing.
Before cutting anything out, score along all the dotted lines. This job is easier to do on full sheets of paper.
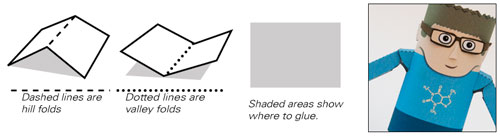
Dashed lines are hill folds, dotted lines are valley folds. Cut along the solid lines. Grey areas show where to glue.
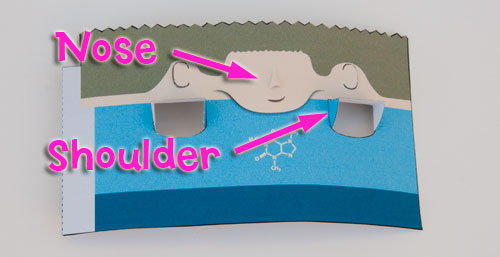
The nose is a very small part – careful you don’t loose it! Glue the nose edges to the front of the face lining up with the white line. Use only a very small amount of glue. Tweezers and a cocktail stick are useful for this job.
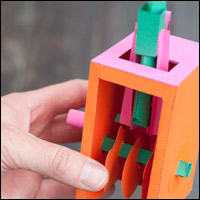
Thread the shoulders through the holes in the body from the back and glue them into place.
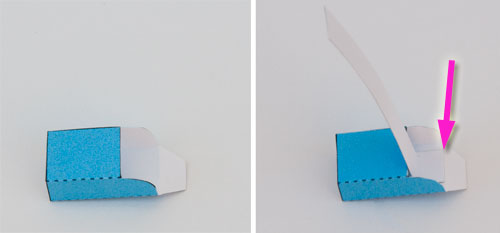
Fold round and glue together the the two arms. For each arm glue the push rod into place as shown above right. Line up the end of the push rod with the crease (arrowed)
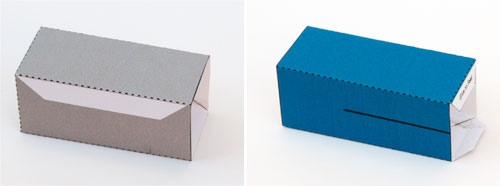
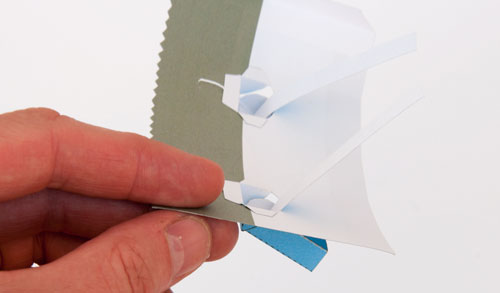
Fold round and glue together the body inner and body outer.
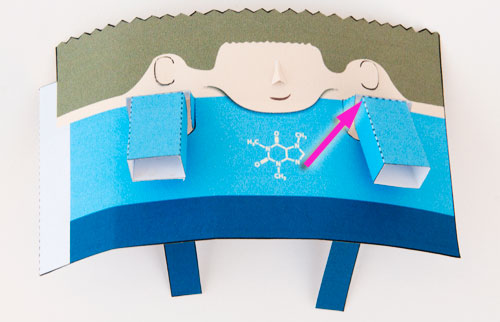
Thread the push rods through the holes in the body and glue the arm tab to the shoulder.
The arm push rod will look like this from the back.
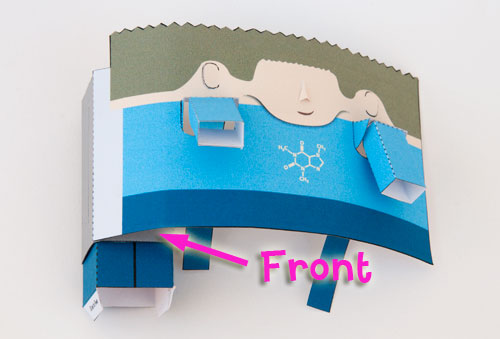
Glue the body tab to the grey area on the body outer. Thread the body inner into place so that the black leg line is lined up front to back.
Roll the body round and glue it down as shown above left. Glue the arm pushrods to the bottom of the legs. Glue on the glasses, thread on the hands and glue on the feet.
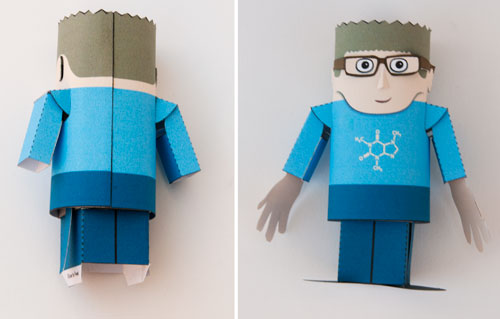
That’s it! Once the glue is dry pull the body up and down and watch the arms flap!