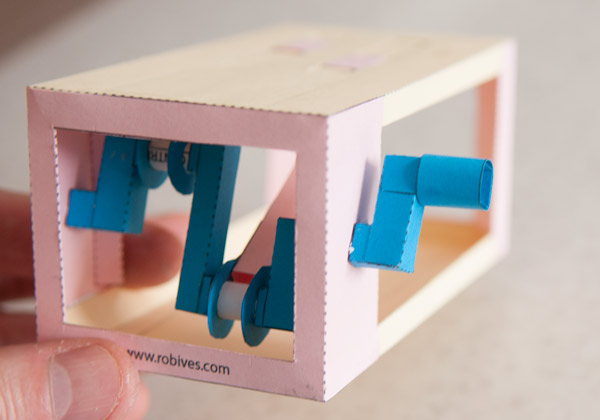
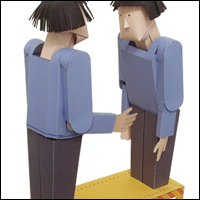
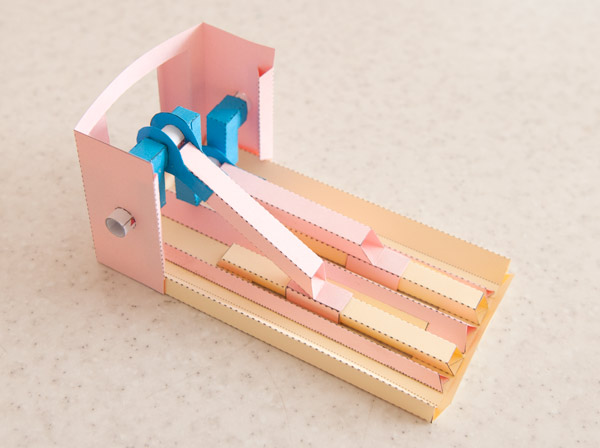
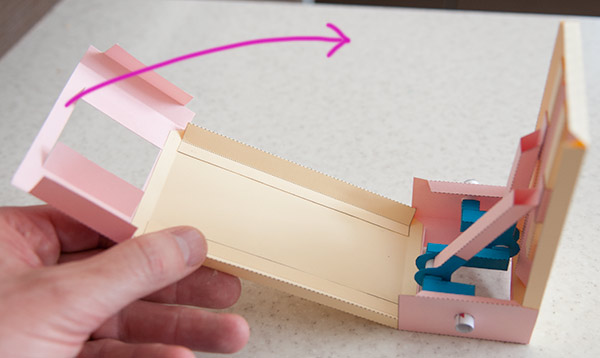
 Double crank mechanism. Turn the handle on the side of the box and the two pads on the top of the box move back and forth in opposite directions.
Make this project as a way of understanding mechanisms or as the starting point for your own character based paper automata.
Members can download the parts for free from the Add to Basket link at the top of the page. Non-members can download the parts for £2.50
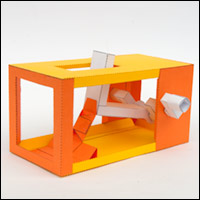
Print out the parts sheets onto thin card. (230 micron / 67lb) The design has no colour in it. To make a colourful model print it out on some pre coloured card. Score along the dotted and dashes lines then carefully cut out the holes before carefully cutting out the parts.
Fold in the box top and box bottom and glue down the side flaps so that they make right angled triangles.
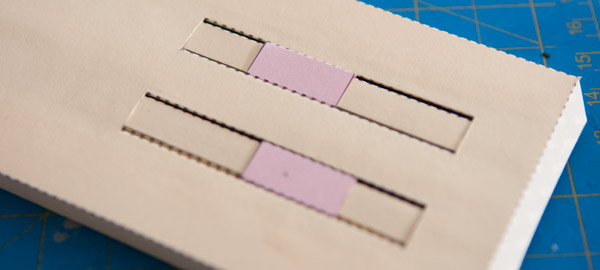
Glue the three box top stiffeners into place. Glue the flaps from the sides of the slots back onto the box top stiffeners.
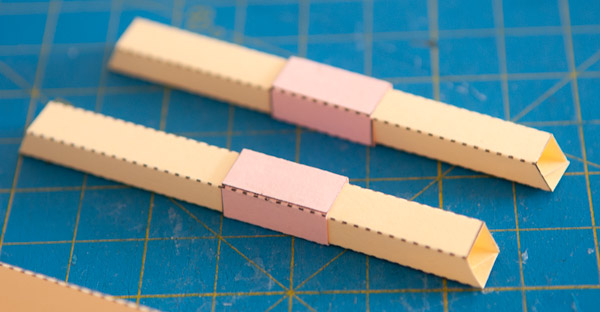
Glue together the two slider bars and thread the two slider tubes into place. Make sure that the slider tubes are free to move back and forth along the length of the slider bars.
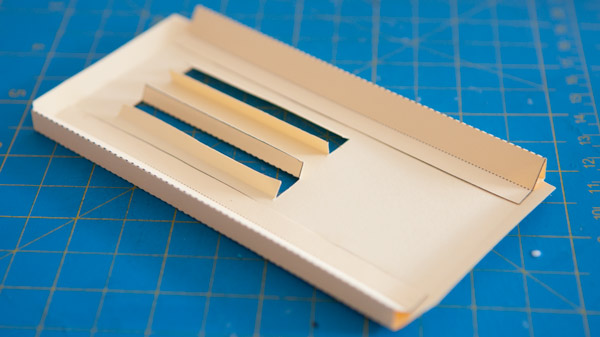
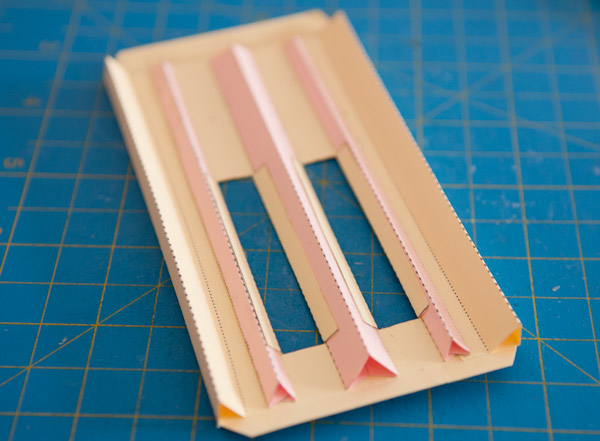
Glue the two slider bars to the underside of the box top so that they are exactly centred in the slots.
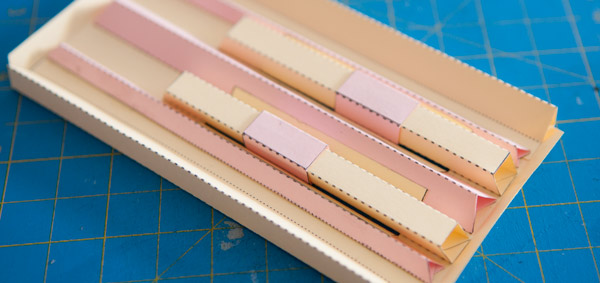
Make sure that the slider tubes are free to move back and forth.
Roll up and glue the various pins. Use the arrows and grey areas to make sure that the edges are glue down in the correct place.
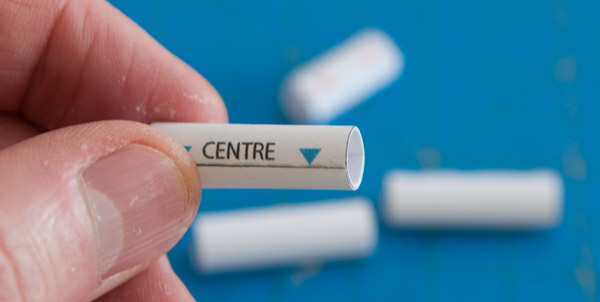
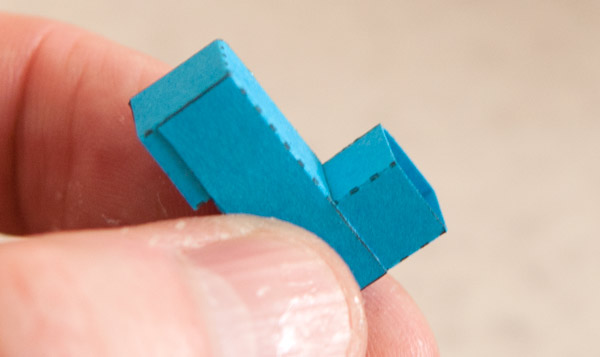
Fold over, glue down then cut out the four crank rod ends. Glue two crank rod ends to each push rod and thread the ‘Centre’ pin into each one.
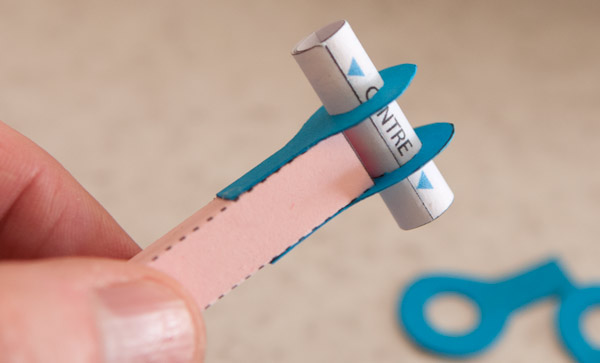
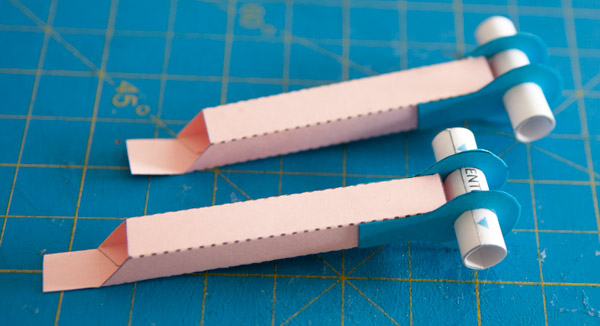
The completed push rods.
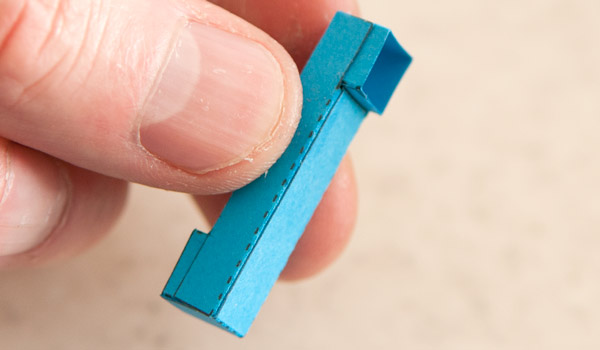
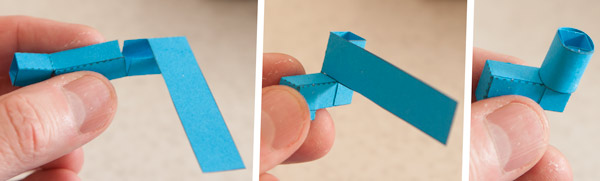
Fold up the long centre crank…

….and glue down the ends as shown.
Assemble the two other cranks in the same way.
Assemble the handle in the three steps.
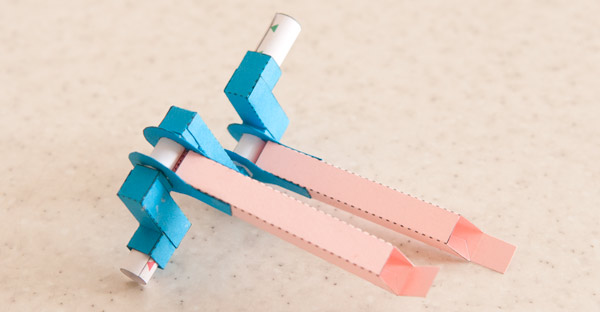
Join the two push rods together by gluing the pins into the long crank section. Make sure that the two push rods are the same way up, tabs to the bottom.
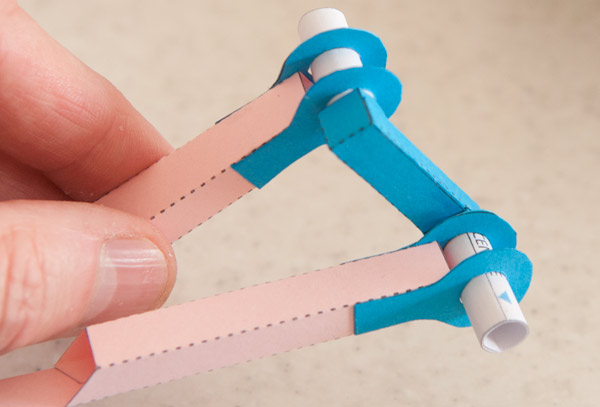
Finish off the crank assembly by gluing on the two shorter crank pieces and gluing the pins into place.
Make sure that the push rods are free to turn on the pins as the glue dries.
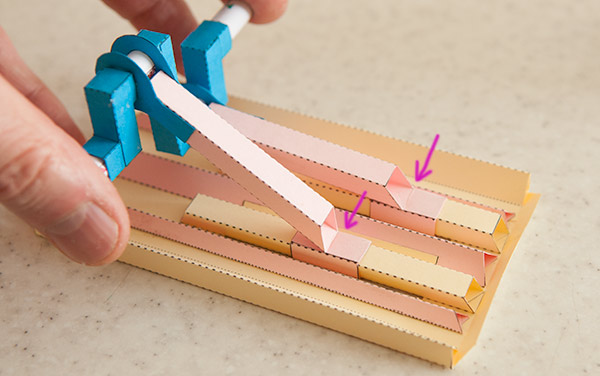
Glue the ends of the push rods onto the bottom surface of the slider tubes. The crease on the tab should be roughly in the centre of the slider tube.
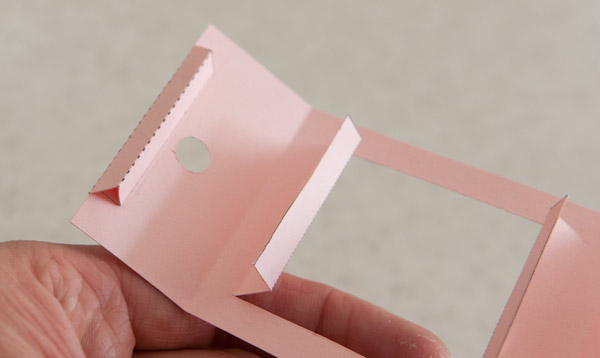
Fold round and glue the triangle sections on the sides of the box end.
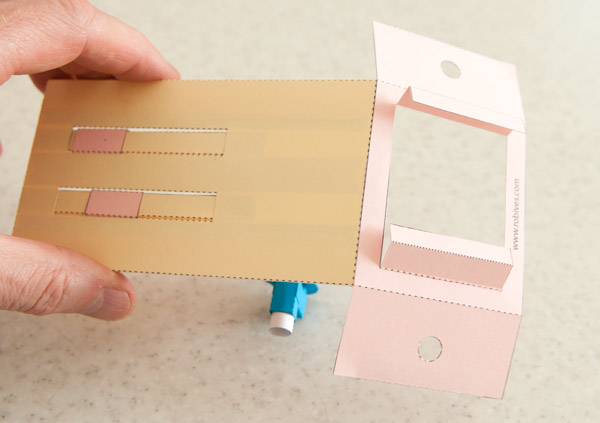
Glue the box end to the box top. Make sure you glue it to the opposite end of the box from the two slots as shown in the picture.
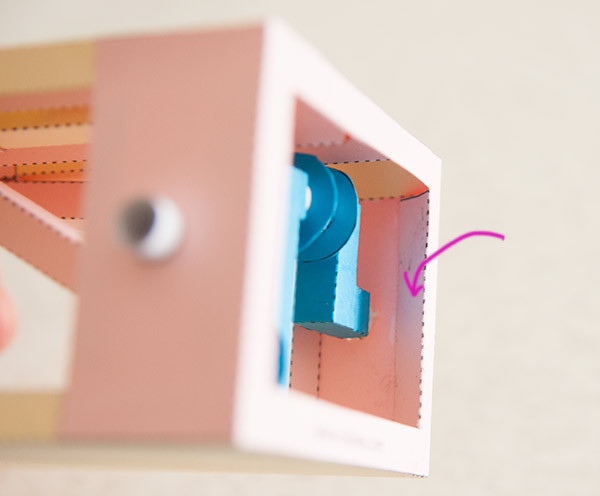
Thread the crank assembly into the box end and glue down the box end sides.
Fit the other pieces of the box into place then fold them round to close the box.
Fold in the tabs and glue them to the inside wall of the box.
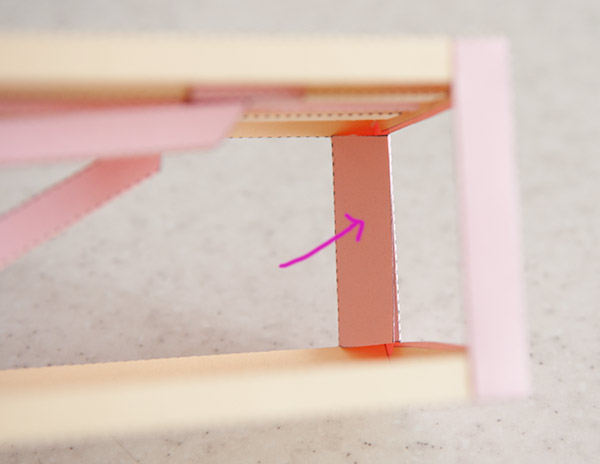
Fold in the two tabs at the other end of the box and glue them back to back to make a triangular tube.
Finish the model by gluing the handle into place.
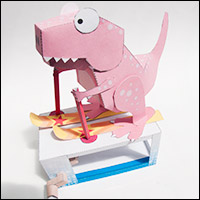
Now that you have completed your double crank mechanism it is time to think about how you could add a character to the top of the box. What will you make? A cross country skier? Michael Jackson moonwalking? Two pirates swabbing the deck? It’s over to you!