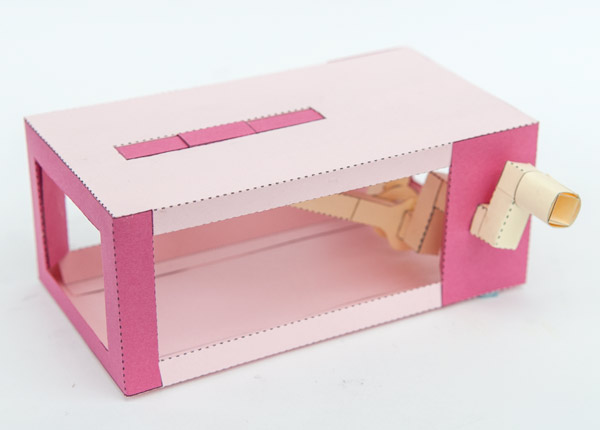
 Turn the handle on the crank box and the pad on the top of the box moves smoothly back and forth. You can use this model as a hands-on experiment with simple mechanisms or as the starting point for your own paper automata models.
Members can download the parts for free from the Add To Cart link at the top of the page. Non-member can download it for £2.50
Download and print out the parts pages of this project onto thin card. (230 micron 67lb) The parts sheets of this project are uncoloured but you can make the project colourful by printing it onto coloured card or by pre-printing a pattern onto the card before printing the parts out.
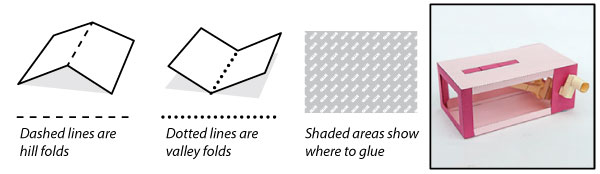
Score along all the dotted and dashed lines and cut out the holes then carefully cut out the parts.
Fold up the box top and box base in the same way to make right angled triangle tubes.
Glue the two box top stiffeners into place.
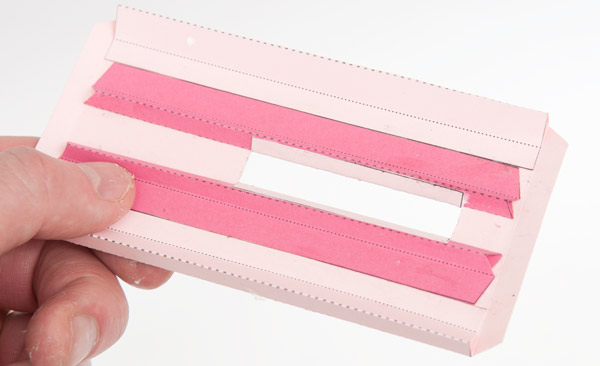
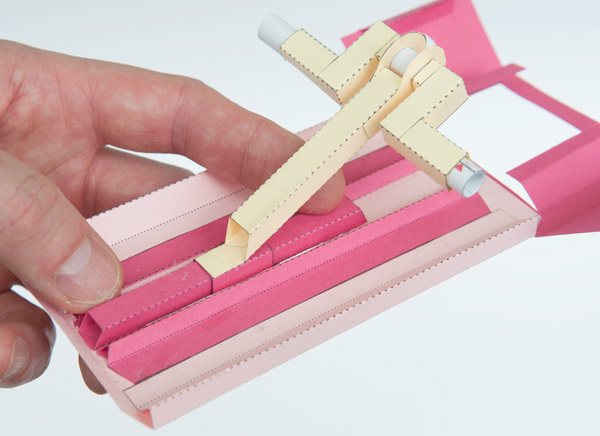
Assemble the Slider Bar and Slider Tube. The Slider Tube should be free to slide up and down the Slider Bar. Hence the name.

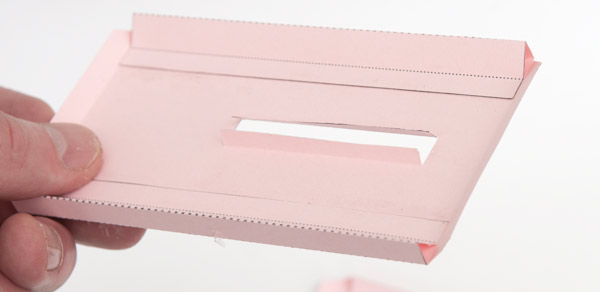
Glue the ends of the Slider Bar to underside of the box lid. Make sure that it is centred accurately over the hole so that the Slider Tube is free to move back and forth.

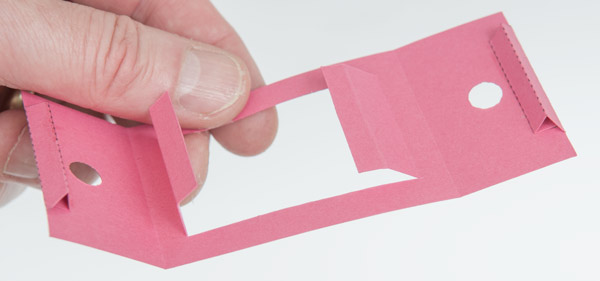
Fold over and glue down the end tabs of the box end as shown.
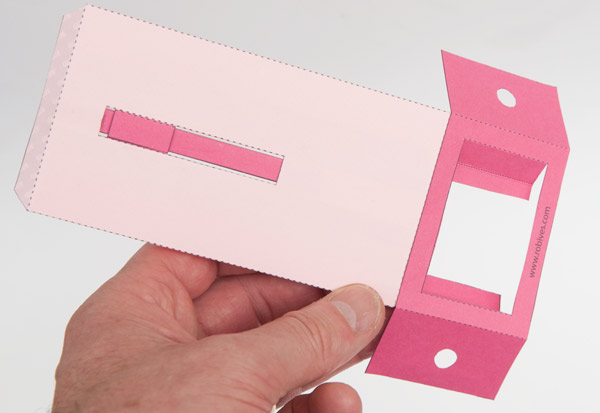
Glue the box end to the end of the box top furthest away from the hole.
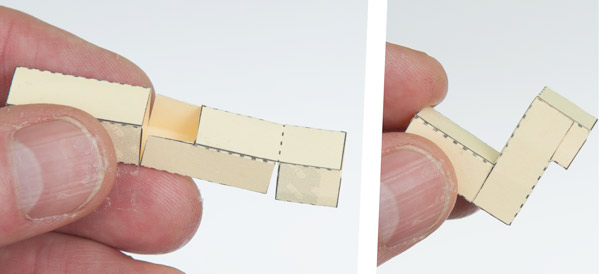
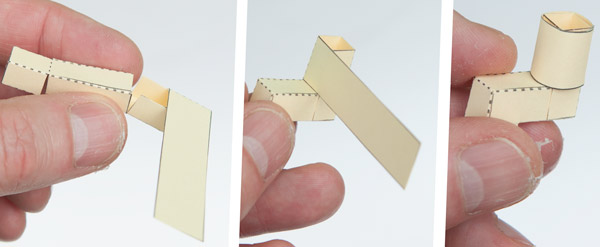
Assemble both crank sections as shown.
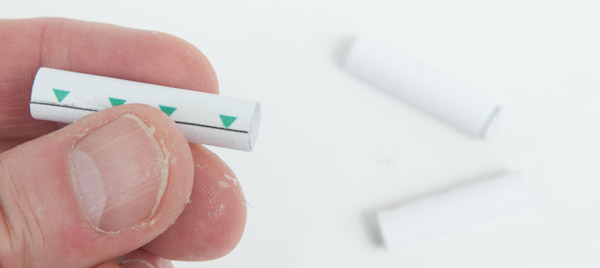
Roll up and glue the three pins lining up the ends of the pins with the glue areas and arrows.
Make up the push rod ends from double thickness card.
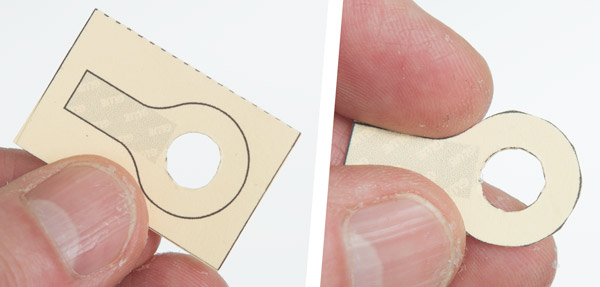
Glue the push rod ends to the push rod and thread the centre pin into place.
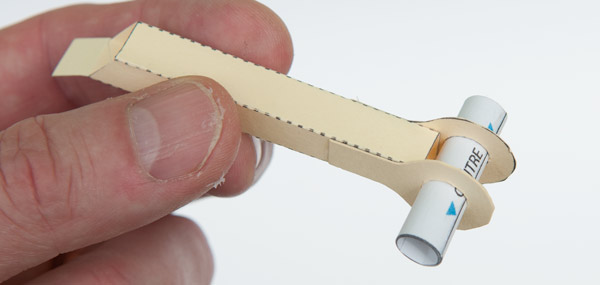
Glue on the crank parts and two remaining pins as shown. Make sure that the push rod ends are free to turn on the pin.
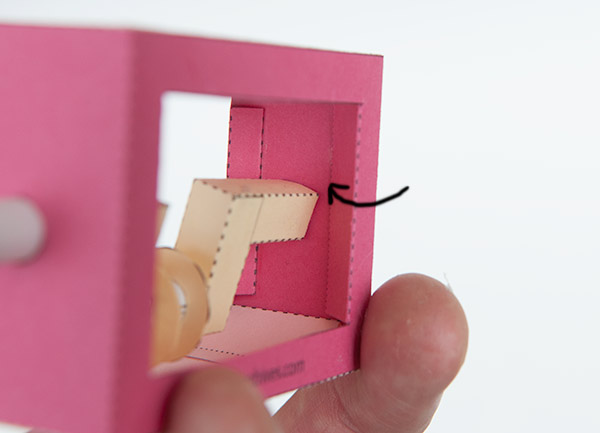
Glue the tab on the other end of the push rod on to the far end of the bottom of the slider tube.
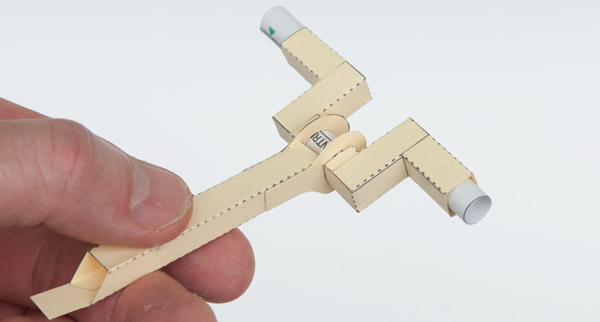
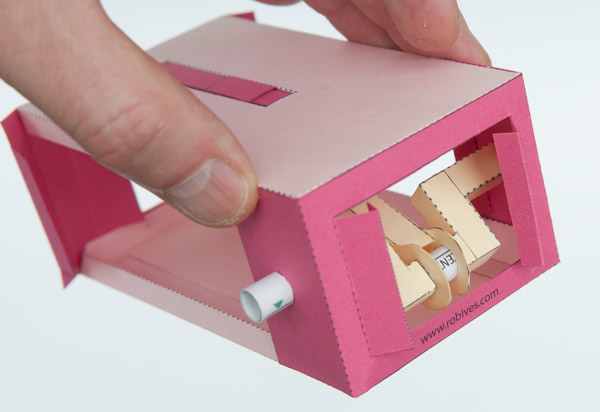
Glue in place the rest of the box parts without gluing down the sides yet.

Fit the sides over the crank shaft pins then glue down the sides.
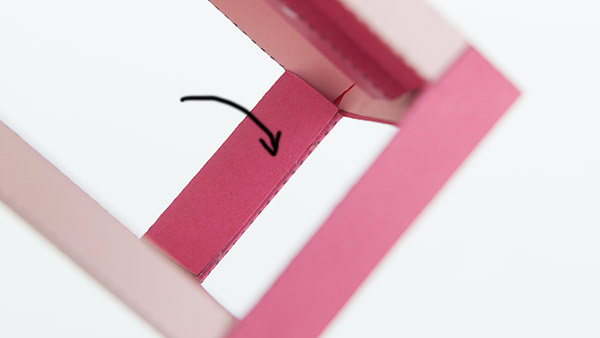
Fold in and glue down the flaps at the end of the box.
Glue the sides of the other box end down. Fold in the sides and glue them back to back to make triangular tubes.
Assemble the handle in three steps.
Finish off the model by gluing the handle into place.
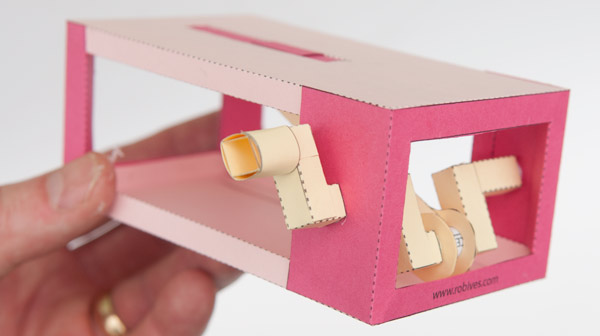
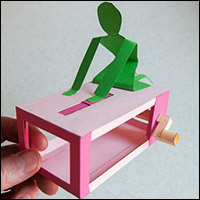
Turn the handle and the pad on the top of the box moves back and forth. This could just be the starting point. What will you add to yours to make it into an automata?