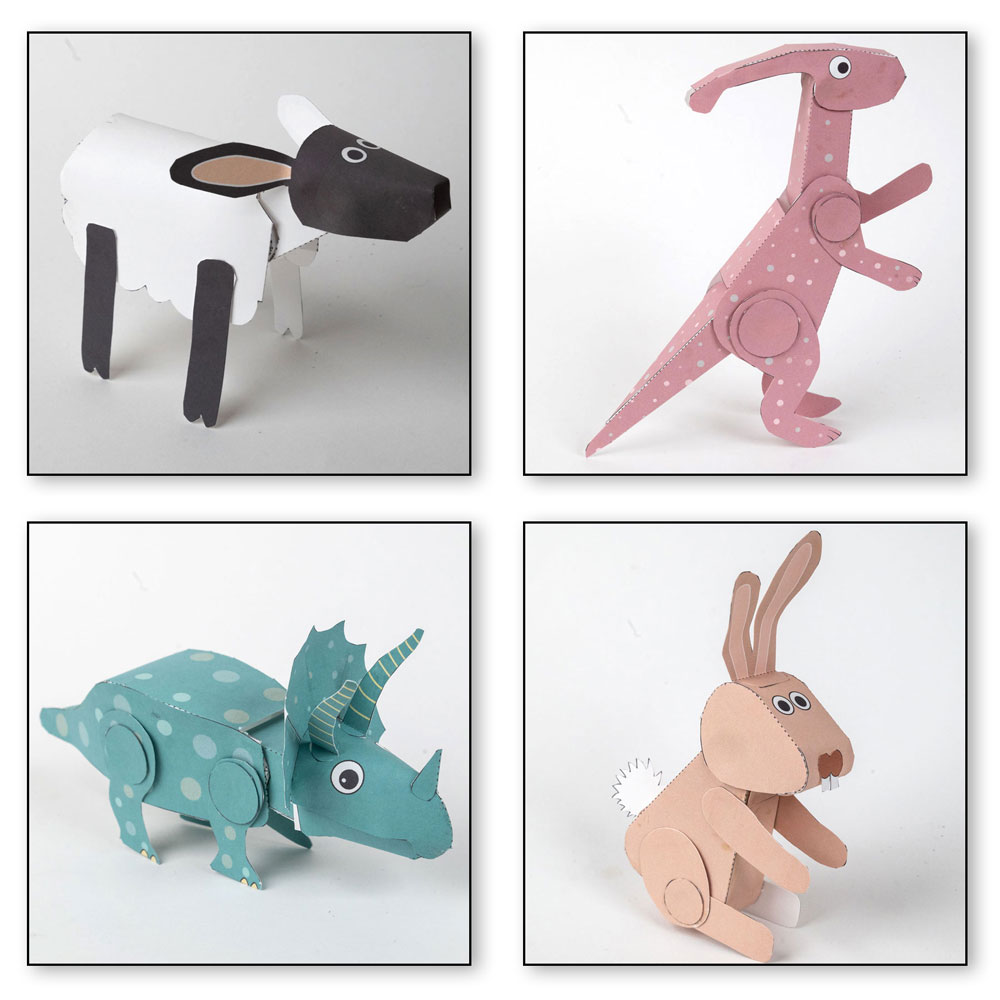
Poseable Animals on the Brother Creative Center
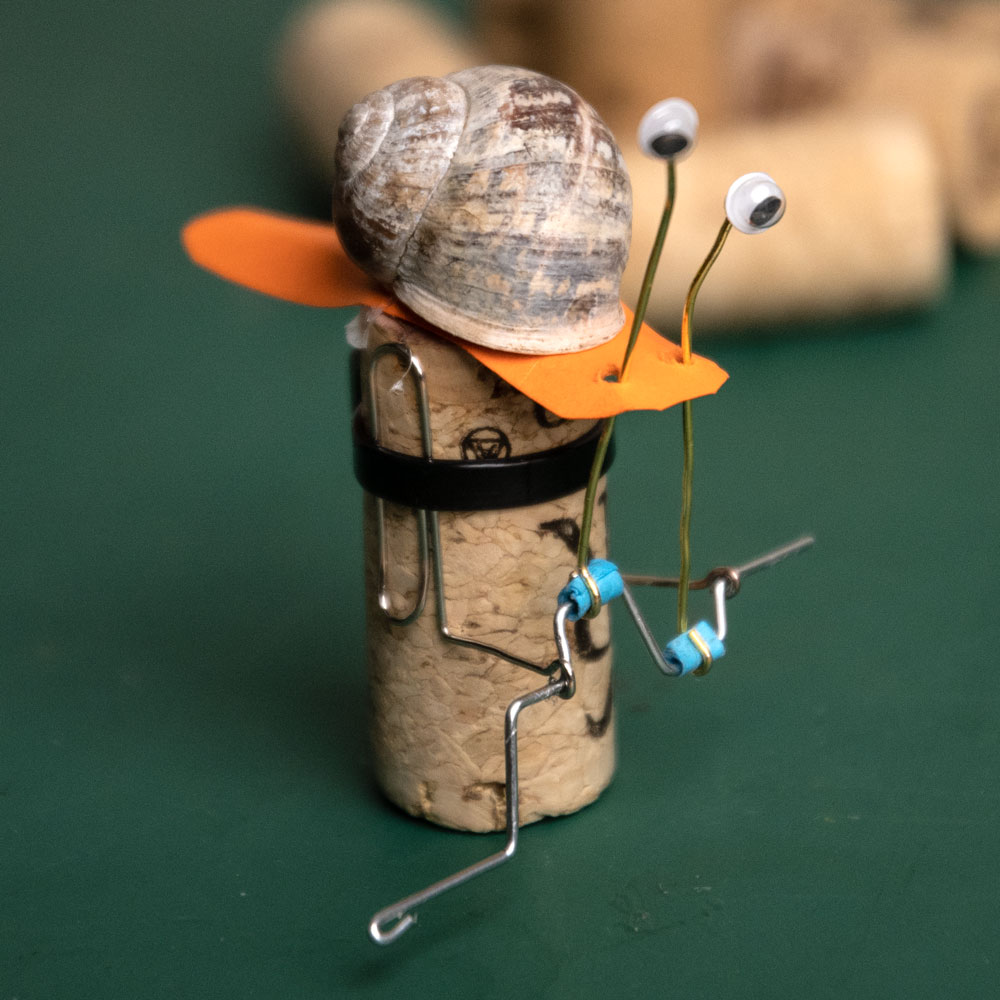
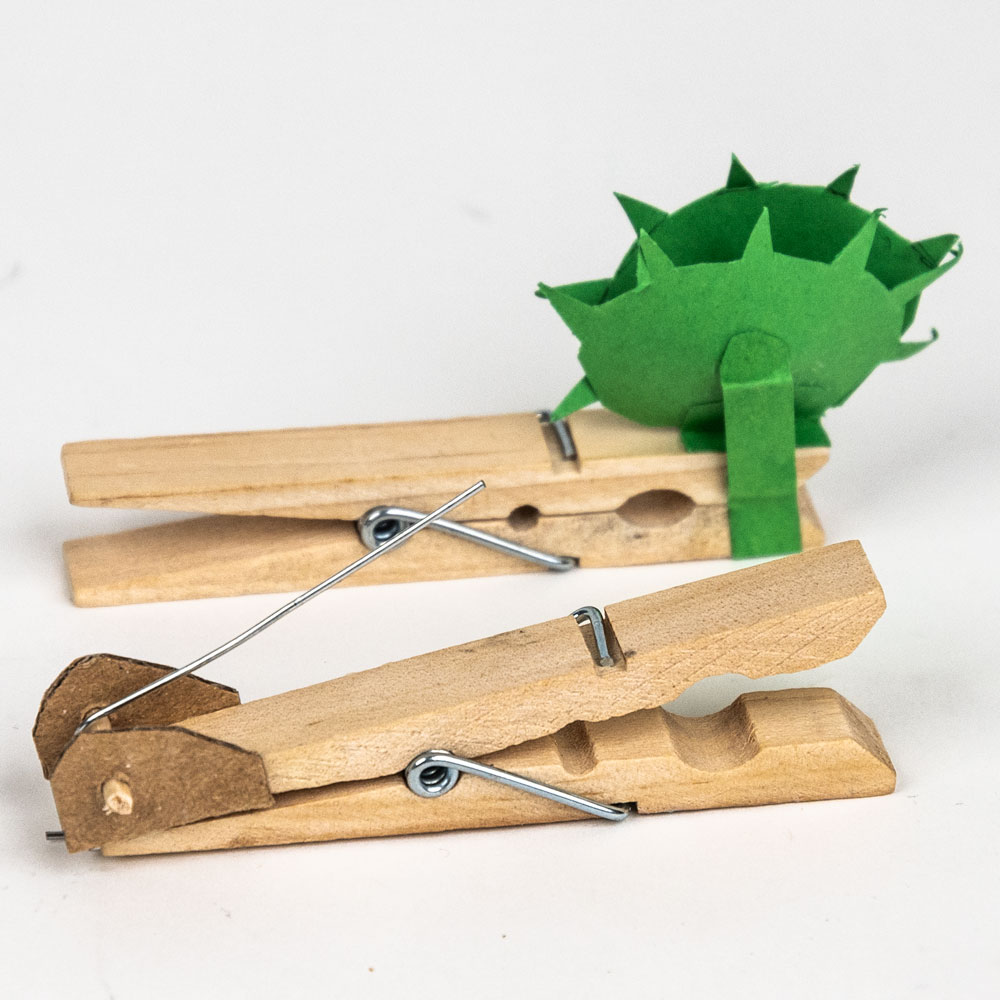
Check out these four poseable animals I created for the

Check out these four poseable animals I created for the
Being interviewed during lockdown is a different experience from ‘normal’
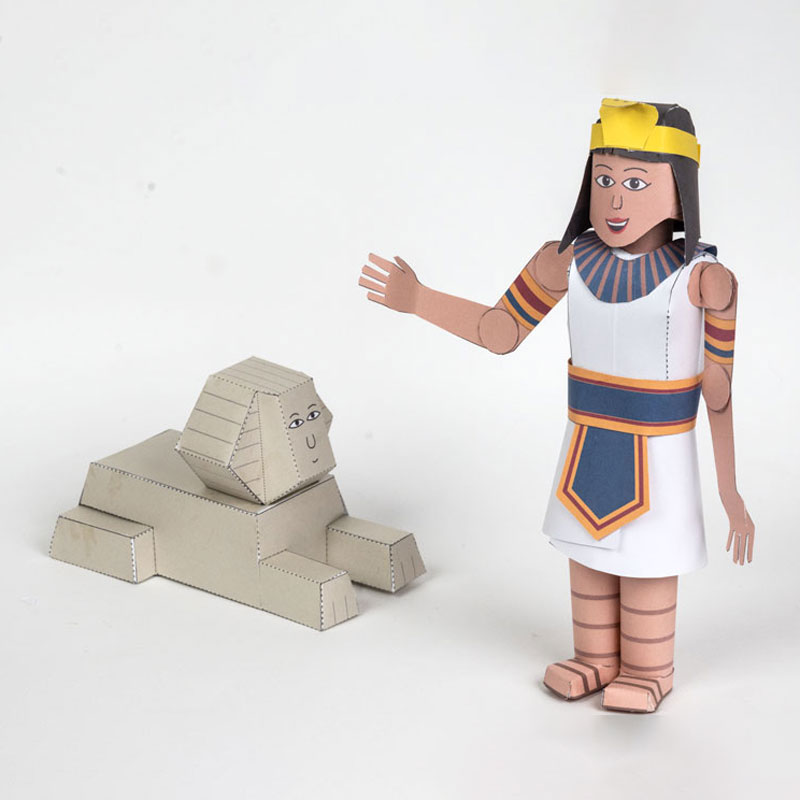
Newly published on the Brother International, a set of historical
I’m committed to continuing to produce quality projects that hopefully